This post may contain affiliate links, please read our disclosure policy.
Join us on a weekend to Napa Valley’s finest organic and biodynamic wineries. From Howell Mountain to St. Helena, discover hidden gems, taste exquisite wines, and enjoy warm hospitality at family-owned vineyards. Perfect for wine enthusiasts and connoisseurs alike.
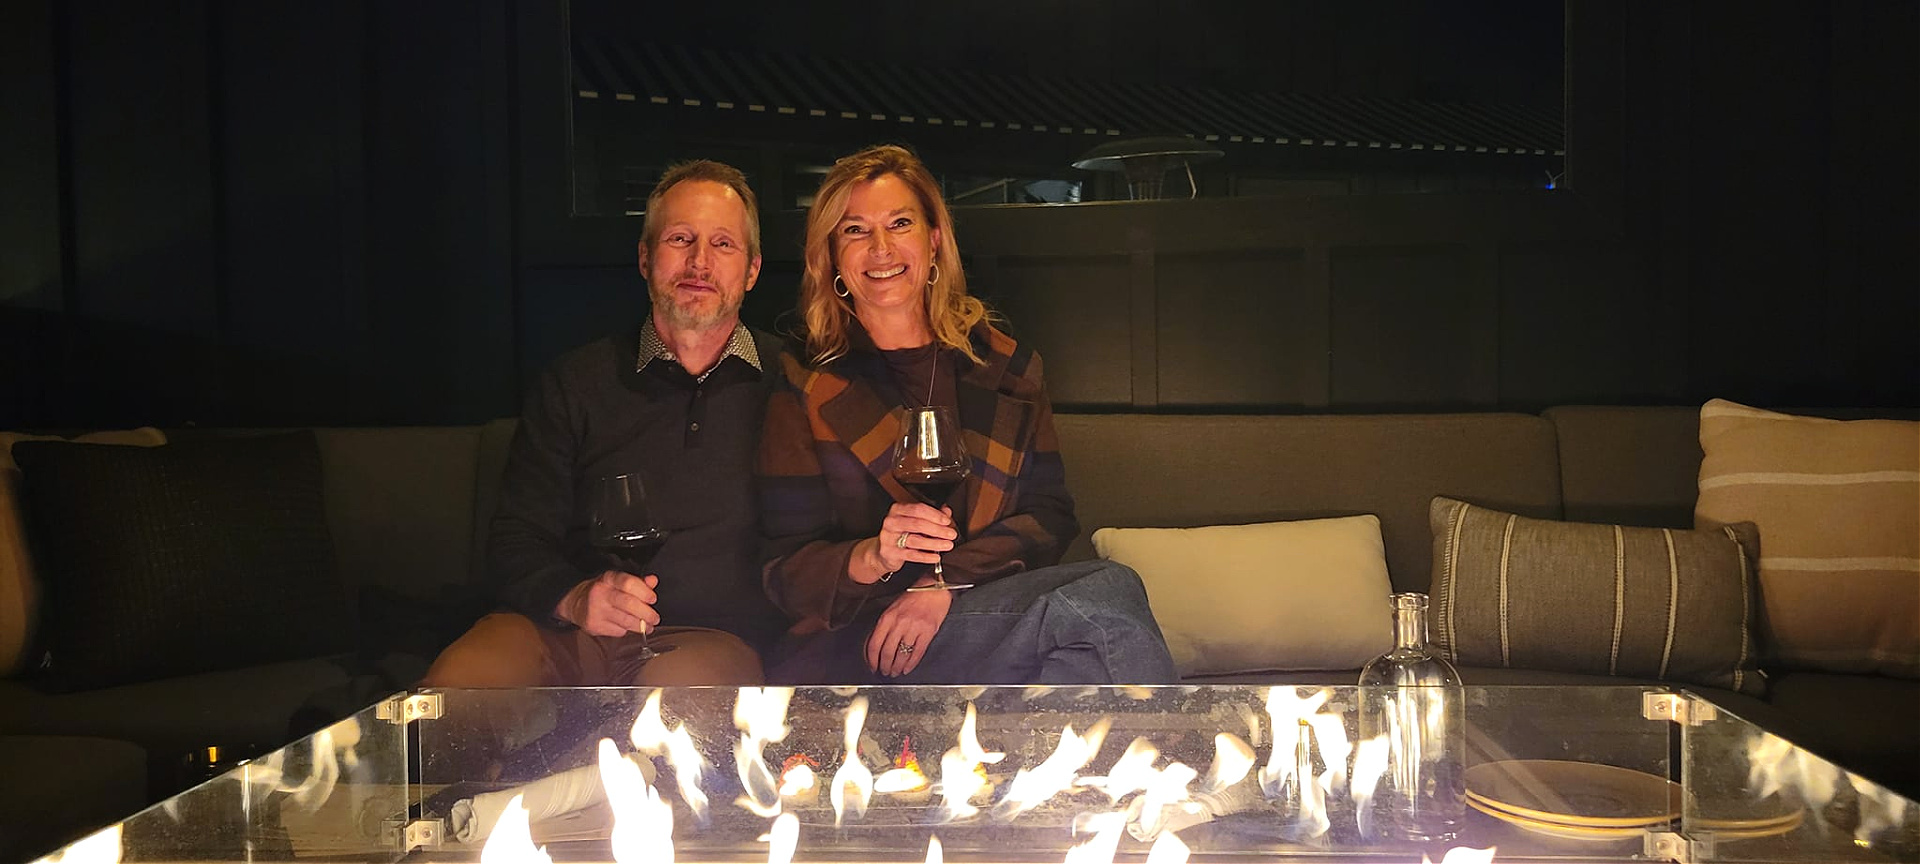
A friend of mine, Vince, was out in Napa (he loves it as much as I do!) and he wrote about his weekend to share with us! The only winery that I have visited on this list in Neal Family Vineyards; therefore I can’t wait to get back to Napa to visit the others! This post is a guest post from Vince, thank you for sharing!
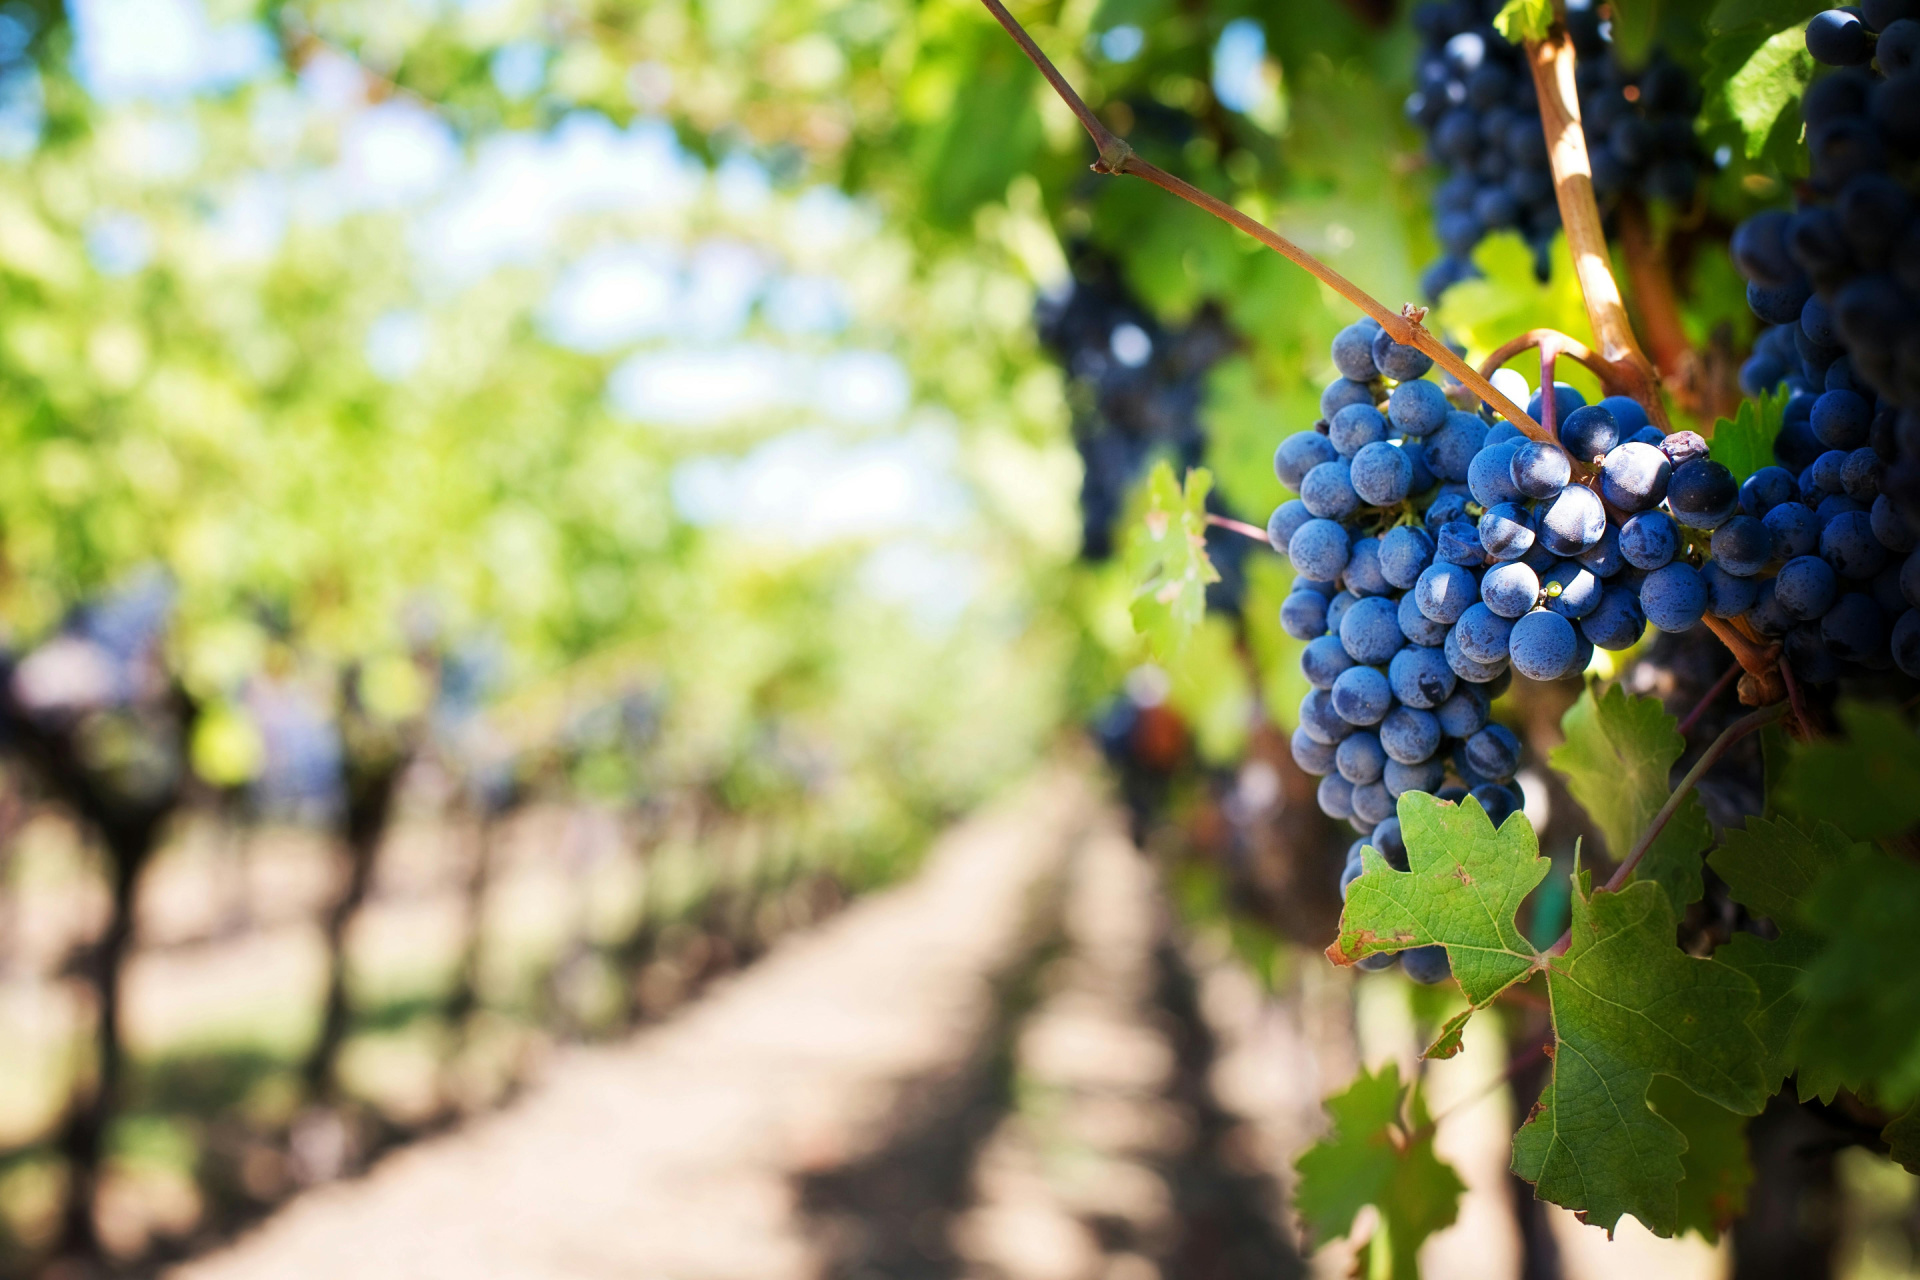
Embarking on a wine-tasting journey through Napa Valley is always amazing, but this time, I decided to explore a different side of this renowned region. My recent fifty-hour trip was dedicated to discovering the hidden gems of Napa – the smaller, family-owned wineries that prioritize organic and biodynamic practices. From the rugged terrain of Howell Mountain to the charming ambiance of St. Helena, I delved into the world of sustainably crafted wines, each stop offering unique stories and unforgettable flavors. Whether you’re a casual wine enthusiast or a sophisticated connoisseur, join me as I recount my visits to these remarkable vineyards and share my notes on the exquisite wines I encountered.
Here’s a glimpse into my organic wine adventure, starting with the serene heights of Howell Mountain. If you are looking for a weekend itinerary in Napa, let this travel wine-tasting guide from my experience help you plan!
Join me on my wine-tasting adventure:
Day One – Howell Mountain
In all my life travels to Napa I have never taken time to head up to Howell Mountain/Angwin which I now highly recommend. I’ve read much about the mountain wines over the years and many of the highly touted winemakers associated with them but till now had only tried some of the wines here and there. Note the mountain wines can often handle if not require good deal of ageing though many of them are approachable young. To balance your cellar offering many offer extensive library selections which I indeed recommend.
Outpost
My first stop (appropriately named for sure) seemed like this was about as far out as one could venture into the woods off to one side of the mountain though well worth the ride as I will return. While many wineries on the valley floor also make wines from these mountain grapes there are easily handful at the top and some say Outpost at a minimum flirts with super elite status.
According to the Napa Wine Project, Outpost is primarily known for their organically farmed estate Cabernet and Zinfandel. Greeted by Timothy with genuine warm hospitality, the wines poured are some of the best ever versions one could expect to encounter. Bryan will tell you his True Cab is as good as it gets and would not disagree. Grenache, Zinfandel and Estate Cab are also among the best ever. Highly recommended.
Address:2075 Summit Lake Dr, Angwin, CA 94508
Hours: 9AM – 2PM everyday EXCEPT Sunday, closed Sunday.
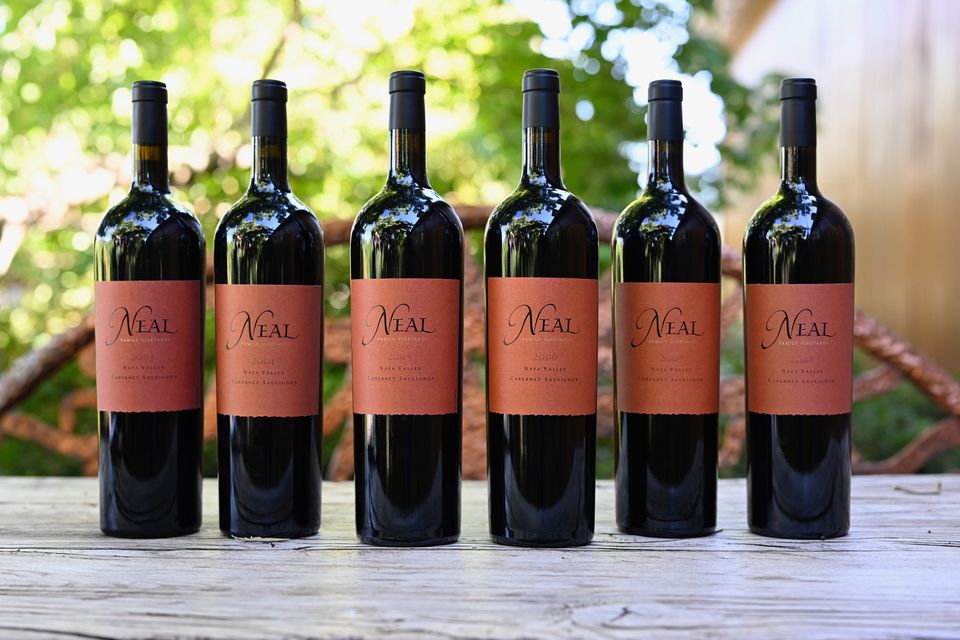
Neal Family Vineyards
My personal favorite stop of the day was spending time with Michael at Neal. Very small production with just about five thousand cases annually. Though Mark Neal is a pioneer in organic farming, and it seems his main business is service he provides to nearly countless other vineyards across broader wine country transitioning conventional vineyards to organic/biodynamic and providing continuous management of those farms.
Michael graciously poured many wines including some library selections he just happened to have opened. All the wines showed well including a rare Vermentino which has an amazing story behind it and the hospitality included a private tour of the entire winery including the underground caves that Mark Neal cut himself about a foot per day.
Quite noteworthy is the estate Zinfandel is the first to include the CCOF (Organic Certification) on the label which is a remarkable achievement. I opted for many of the Howell Mountain library selections and the Rutherford Dust Cabernet is a can’t miss for sure. Will be sure to bring some friends on my next stop in. The property is beautiful and well maintained. While I would love to keep this one more of a personal secret I must honestly say – Highly Recommended (and special thanks to Tracy for the recommendation).
Address:716 Liparita Ave, Angwin, CA 94508
Hours: 9AM – 4PM everyday EXCEPT Sunday, closed Sunday.
Arkenstone
Last stop of the day had one of the biggest first impressions. The Arkenstone Godward Cabernet really hit me hard. Fruit driven, polished well integrated tannin and long smooth silky finish. I felt like it was everything you could ever ask for from a top Cabernet. I don’t usually finish all my glasses when I’m driving but this one eventually became dry as I continued to return back and check for any subtle shifts or nuances over time. Arkenstone is another stop that features many library selections.
In addition to their reds, they are not afraid to show off how long their aged Blanc (primarily Sauvignon Blanc but recent editions have a bit of Semillon included which is always nice) can last. Believe it was a 2013 Blanc that was shared and still quite youthful and very refreshing. In addition to the Blanc and Godward, the Estate Red is a can’t miss and I opted in for some library selections as well.
Address: 335 West Ln, Angwin, CA 94508
Hours: 10AM – 3PM everyday EXCEPT Sunday, closed Sunday.
Day Two – St Helena
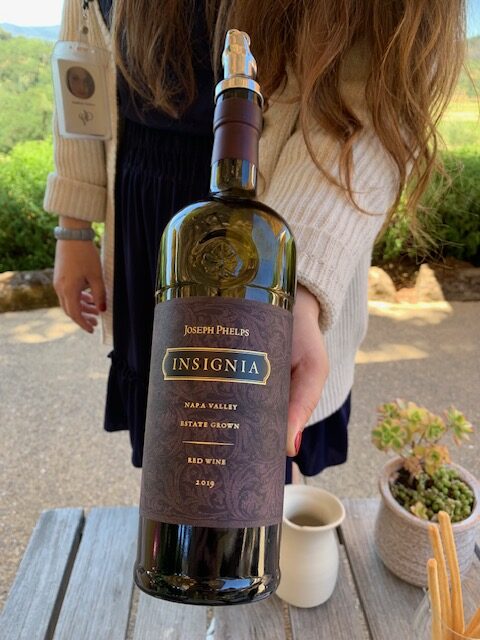
Joseph Phelps
It had been just over two decades since I had a Terrace tasting at Phelps, so I looked forward to this return. By far the largest producer of this tour and more recently under corporate structure after sale from the Phelps family, the hospitality is quite formal with the same quality of wines, expansive vineyard/hillside views and upgraded selections you might expect from Phelps.
The 2021 Quarter Moon Pinot was a pleasant surprise drinking better than its written description. 2021 Proem No. 5 & Pastorale Chardonnays are both solid qualities. On this tasting I preferred the regular 2018 Cabernet as significantly more approachable than the highly touted Insignia. Though my appreciation for aged Insignia remains high.
Address: 200 Taplin Rd, St Helena, CA 94574
Hours: 10 AM – 5 PM everyday
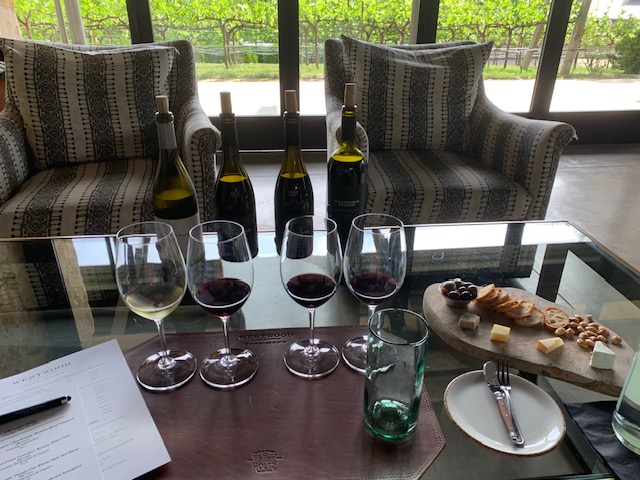
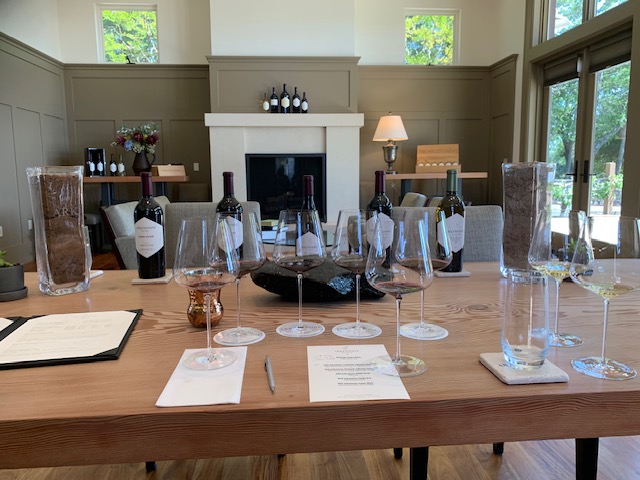
Westwood
Utilizing the Brasswood custom crush facility, Westwood pours their wine in a lovely space at the end of the same building on the opposite side of the Brasswood parking lot. Many high-end Napa wineries utilize this facility including some while they build or remodel facilities on their own estates.
My personal takeaway is the pride of Westwood largely centers around the grapes from the Annadel Gap vineyard which is both organic and biodynamic. All the wines poured from organic/biodynamic vineyards are truly dynamic. The 2021 Founders Reserve Pinot Noir Annadel Gap Vineyard is a gem. I also opted for library selections as well including the Legend Cabernet. Now when it comes to club memberships have to say, not a big fan. Though Westwood makes it simple with a minimum of just four bottle shipments three times a year (each coming up at new release time) plus you can choose any wine including library selections. When the product is this good and you will eventually want more the savings and timing both make sense. Unlike other club requirements, Westwood did this one right. Drew was very gracious with his hospitality and time – Highly Recommended.
Address: 3111 St Helena Hwy, St Helena, CA 94574
Hours: 10AM – 3PM everyday EXCEPT Monday, closed Monday.
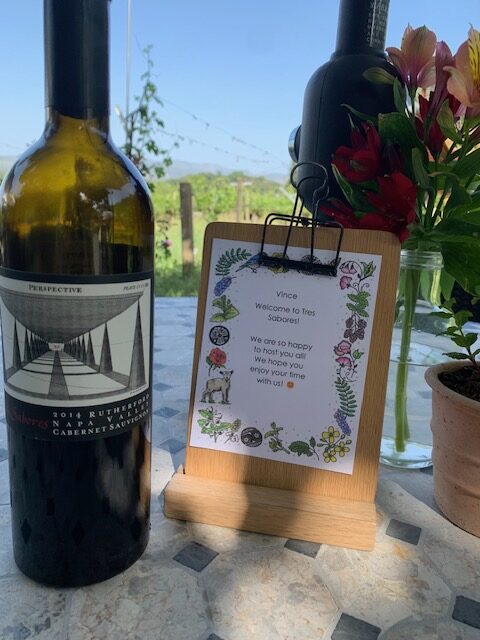
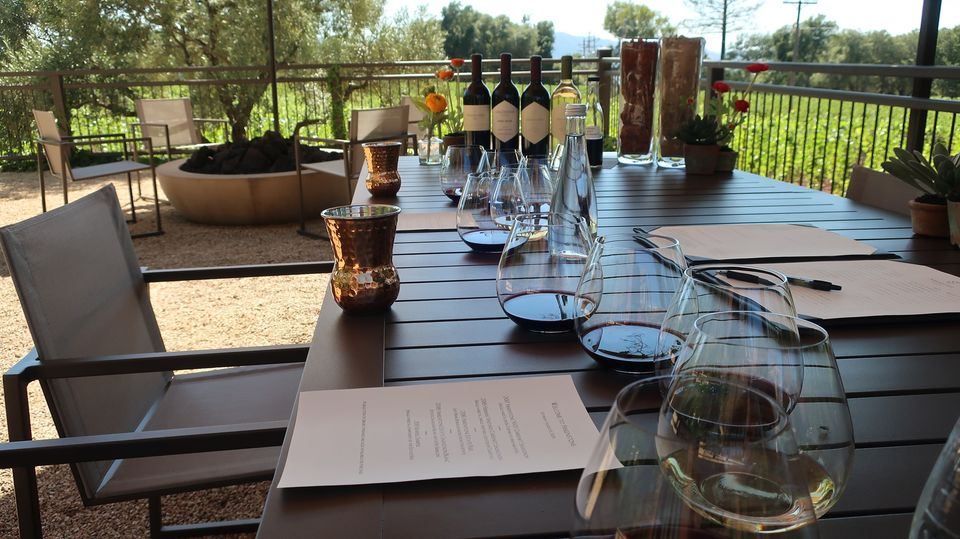
Tres Sabores
Some consider a sister winery to Frogs Leap (and yes, there is a past connection) one of the original organic vineyard operators in Napa. My experience here was lovely. First this location is on the lower foothill part of the Mayacamas off Whitehall LN just southwest of St. Helena. As you sit at a comfortable table on the shaded side of the winery just few footsteps from an organic, dry farmed Cabernet vineyard you can look down the hill and see faint impressions of vehicles on Highway 29 with an occasional view of the wine train moving through the valley when the timing is right. What made this stop very special is the down-to-earth family friendly atmosphere. No high tech multi-million-dollar entertainment center here — this is a true grass roots organic stop. Then what can make it even better than to have Julie (Proprietor/Winemaker) personally welcoming and pouring wines for you. Not only is Julie a true artist with her winemaking but that talent also extends into her own personal design concepts and ideation that goes into her bottle labels, each crafted individually with its own unique story that somehow fits perfectly in time and space and brings the entire experience into one that is both memorable and enjoyable. Julie starts with her version of a beautiful dry Rose briming with strawberry and melon flavors. True delight for anyone especially dry Rose lovers. Julie is also one of the very few California winemakers utilizing Picpoul Blanc, a unique white wine grape variety where she has uniquely partnered with a special set of vineyards to bring a very refreshing version of this to life. Her estate Zinfandel is a hit, and the library selections of estate Cabernet can compete with the best of them. She poured a 2014 Cab which is currently drinking phenomenal and will continue to age gracefully. Also memorable about this trip are the chickens, sheep and Cava the friendly dog who might just lay down beside you while you are tasting. This was a great make you feel at home stop to end this amazing two-night trip. Wonderful joyous hospitality showing true pride of ownership with reasonable pricing. Highly Recommended.
Address: 1620 S Whitehall Ln, St Helena, CA 94574
Hours: 10 AM – 5 PM everyday
Where To Eat
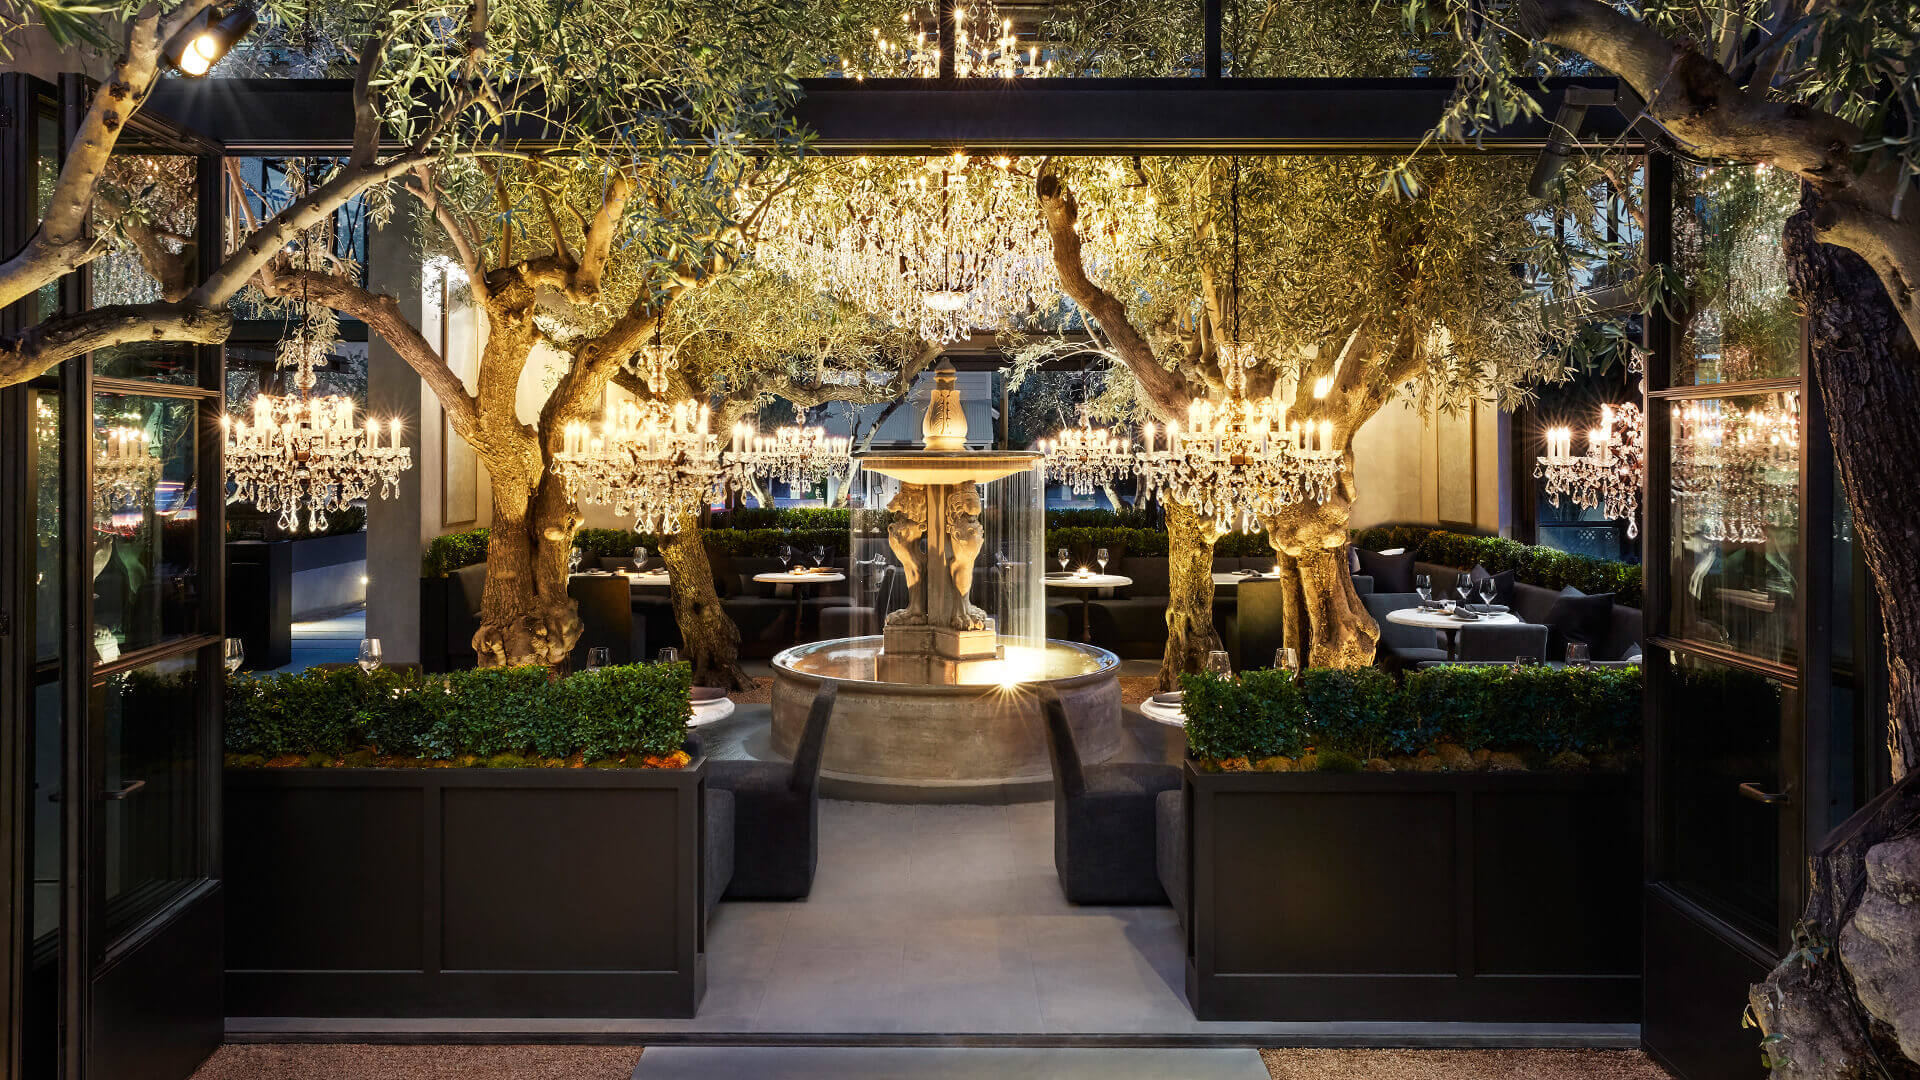
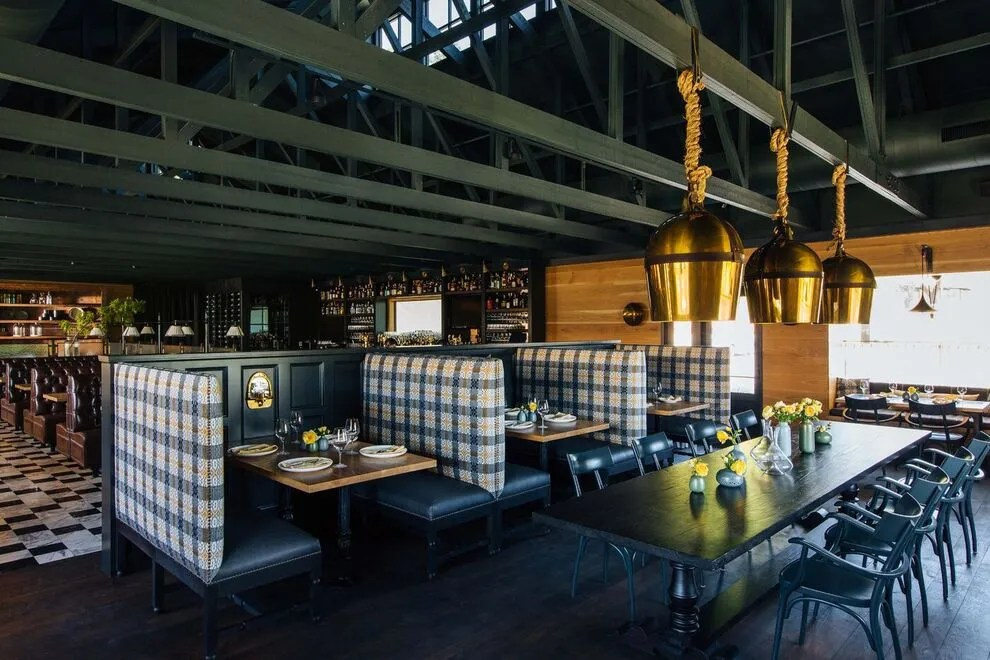
Farmstead in St. Helena
If you want to stay in an organic food mode to complement your high end organic/biodynamic winetasting visits then there is no other place than Farmstead. This has to be one of my favorite restaurants ever. Depending on time of year any of the vegetables come right from their own gardens. The steak on the menu is touted as both organic and grass fed from the family farm as well. A signature wild trout dish is quite popular and once you experience can make it hard to try anything else upon your next visit. A great casual atmosphere can be kid friendly with just the right amount of noise level. Oh, and by the way, they make wine from their own organic grapes as well. The Long Meadow Ranch tasting room is just on the other side of the restaurant along with some delicious estate organic olive oils as well. Farmstead is a Highly Recommended experience for all.
Address: 738 Main St, St Helena, CA 94574
Hours: 7AM – 8 or 9 PM depending on the day. Open everyday.
Need more recommendations on where to eat while in wine country?
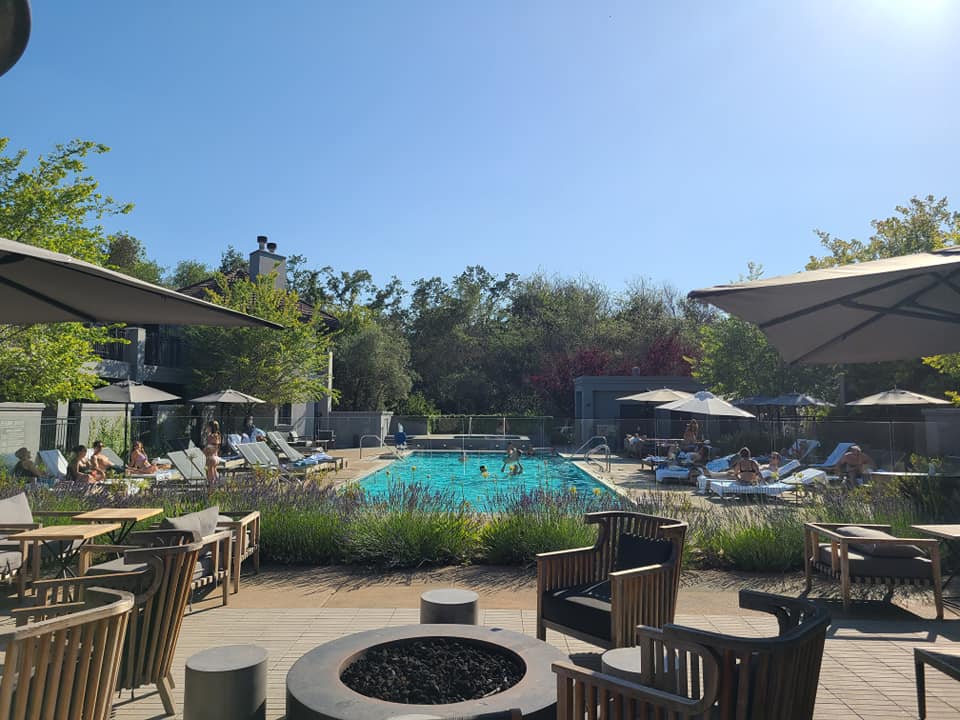
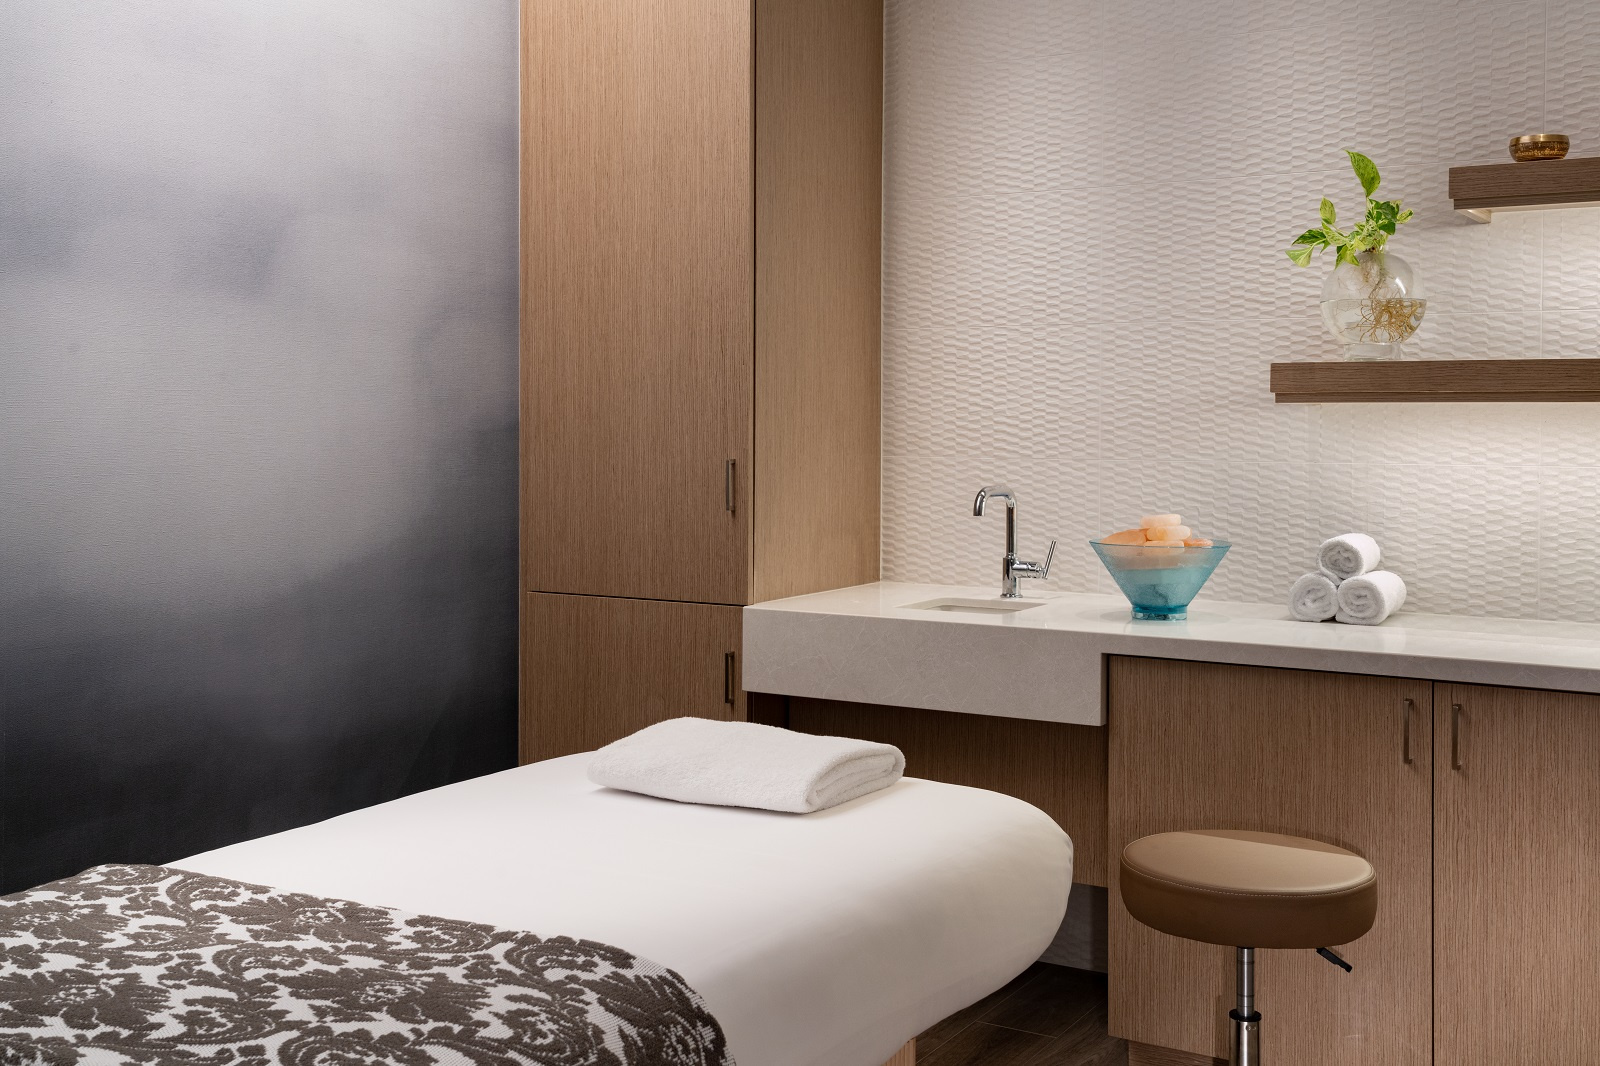
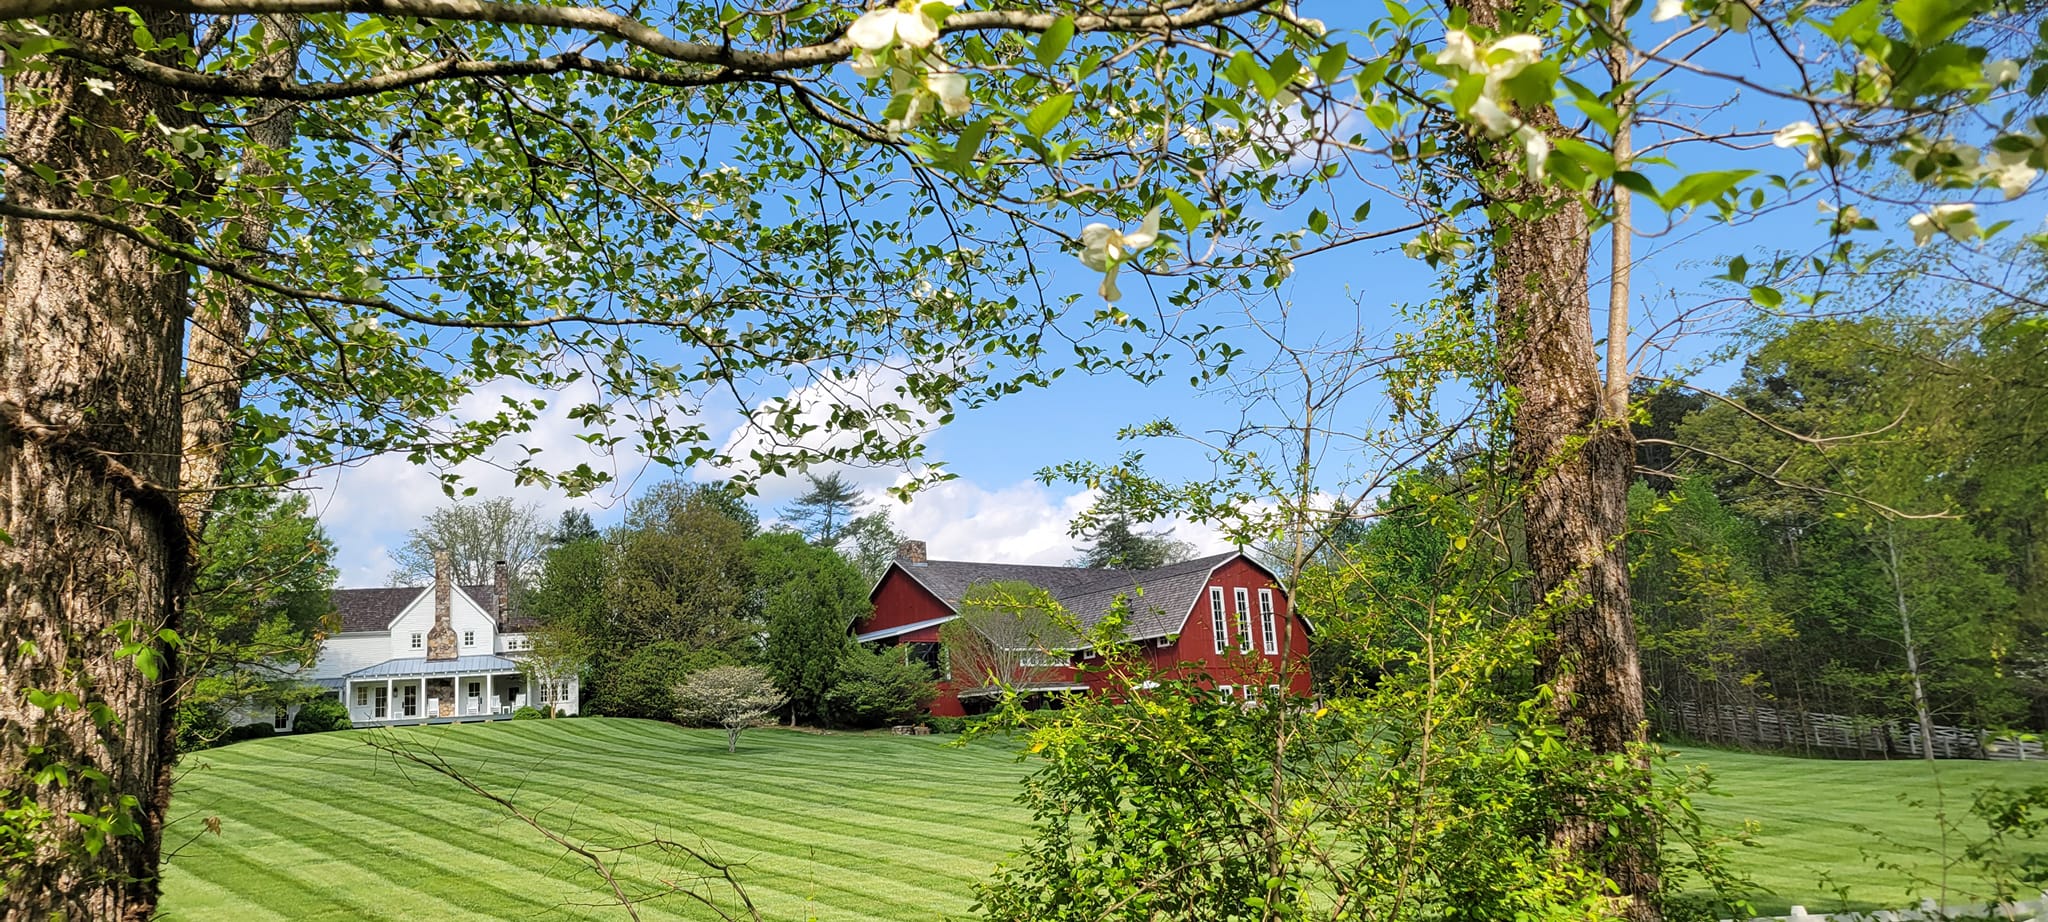
Need a place to stay in the Napa area?
What are your favorite wineries to visit in Napa?
If you are looking for more wineries to add to your wine tasting wish-list, be sure to check out some of my favorites in Napa and Sonoma. Looking for a unique experience? Look into the Napa Wine Train.
Be sure to check out Food Wine Sunshine on Facebook, Twitter, Pinterest and Instagram for more travel tips, healthy recipes, and more.


