This post may contain affiliate links, please read our disclosure policy.
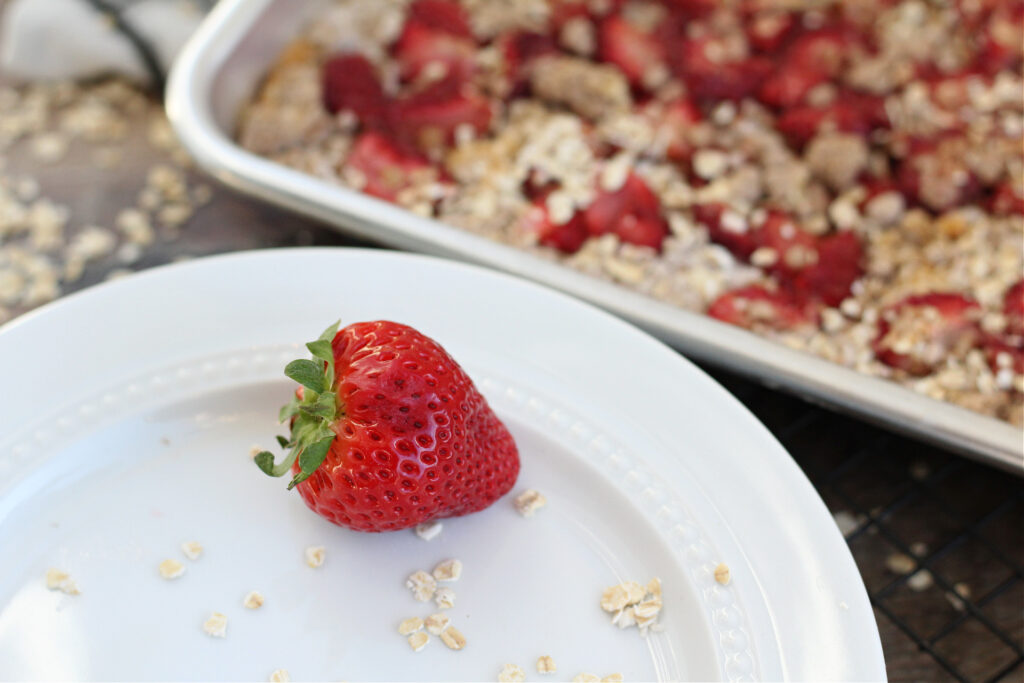
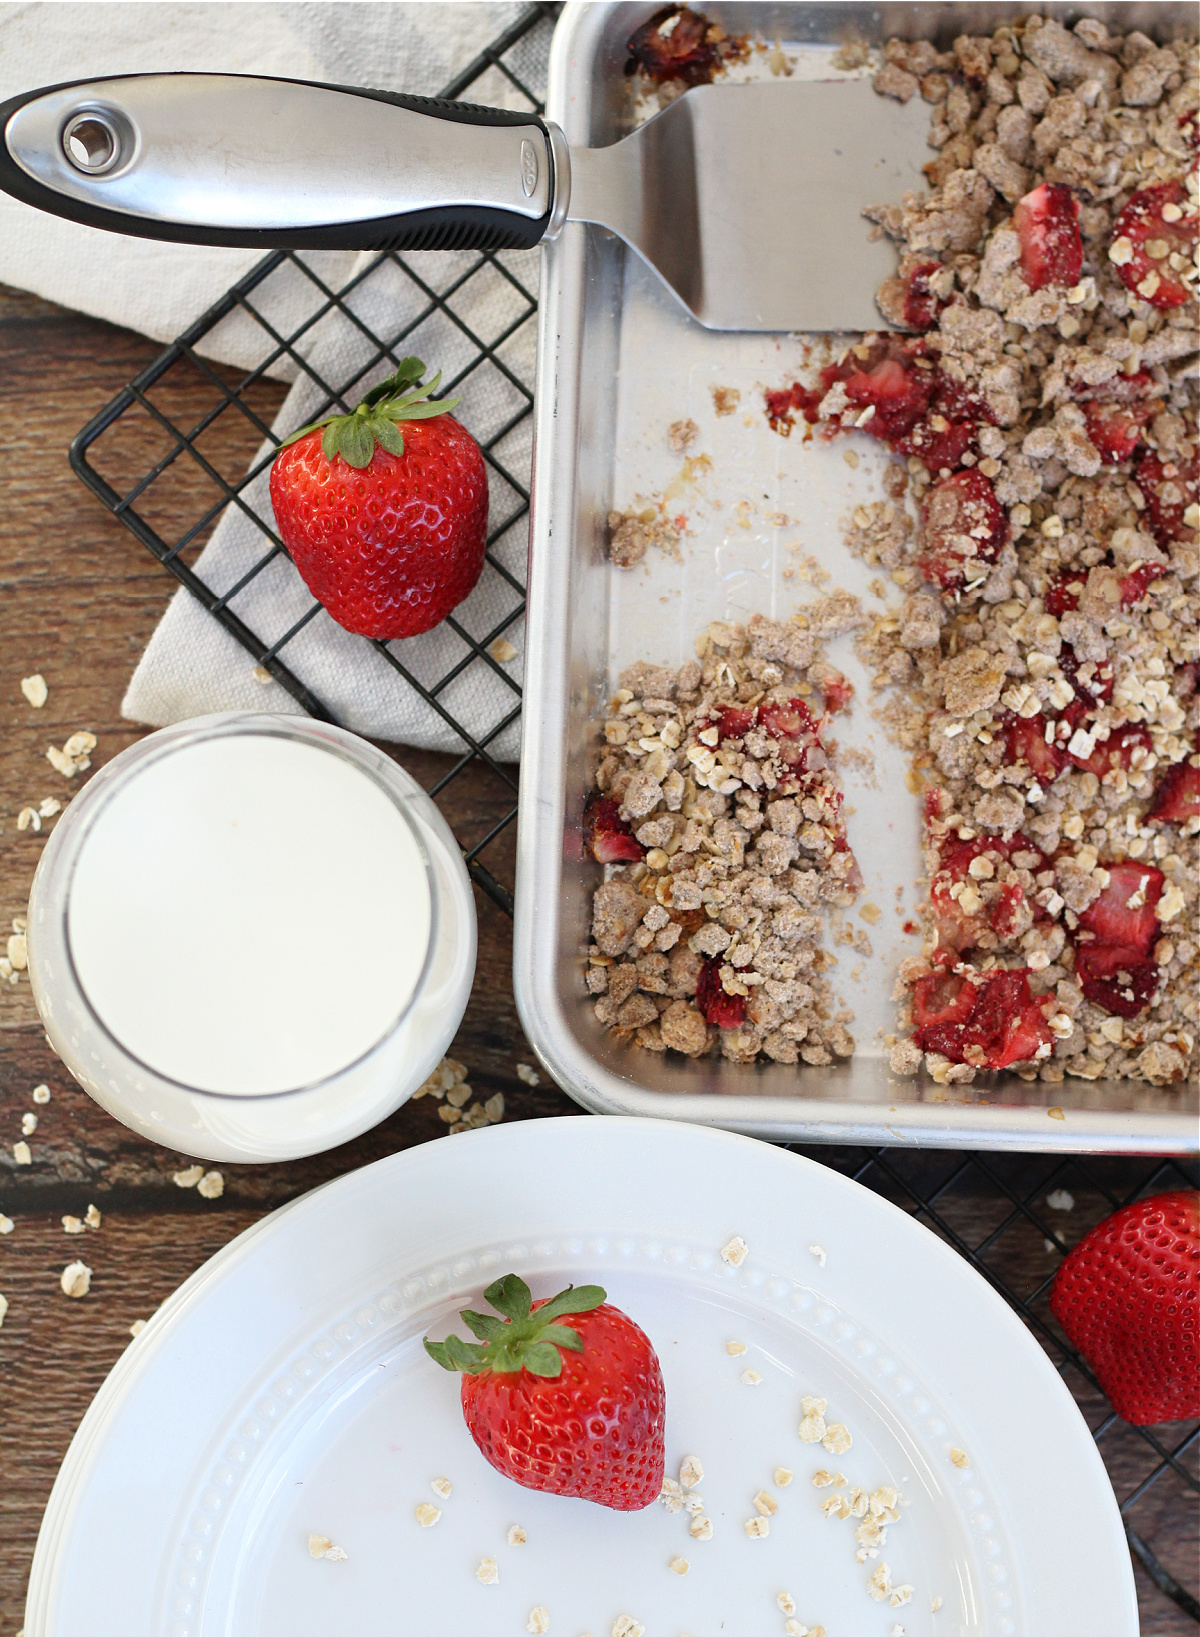
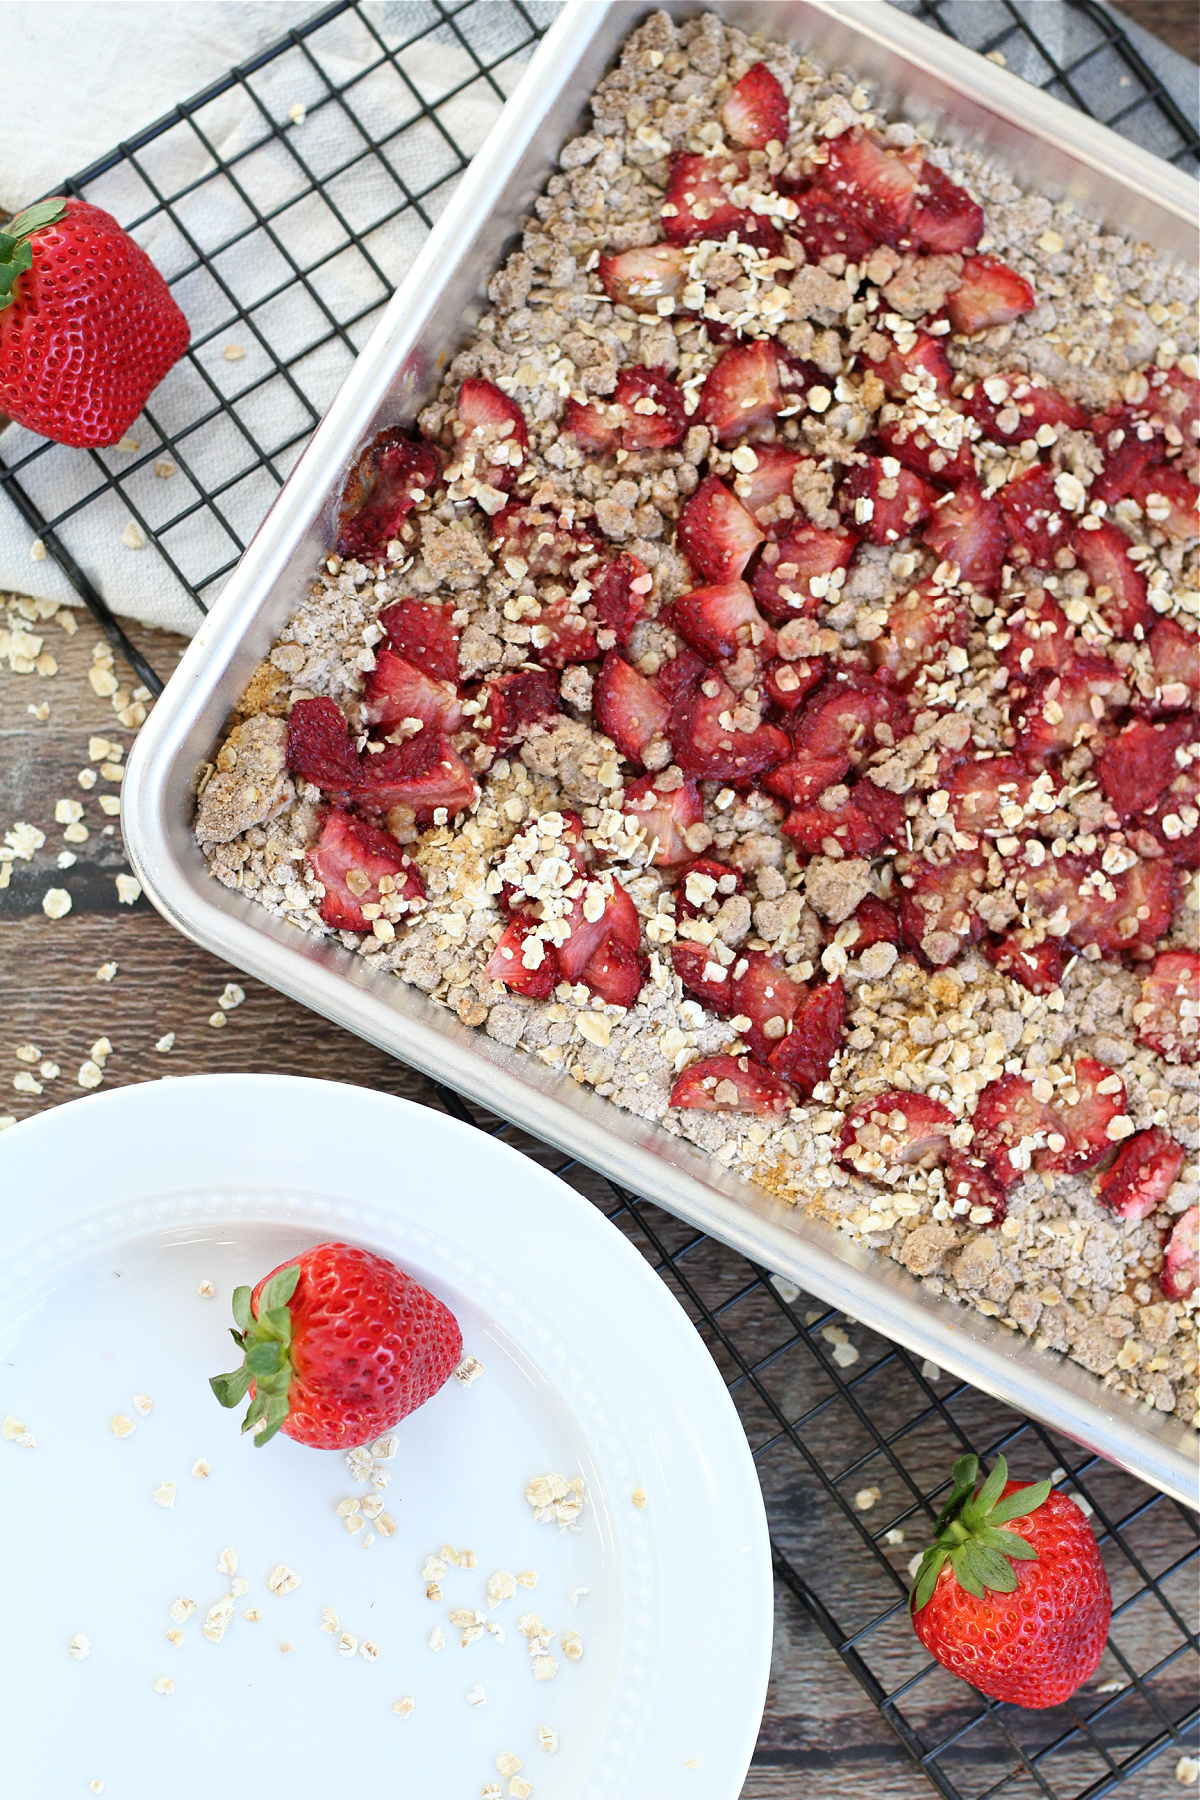
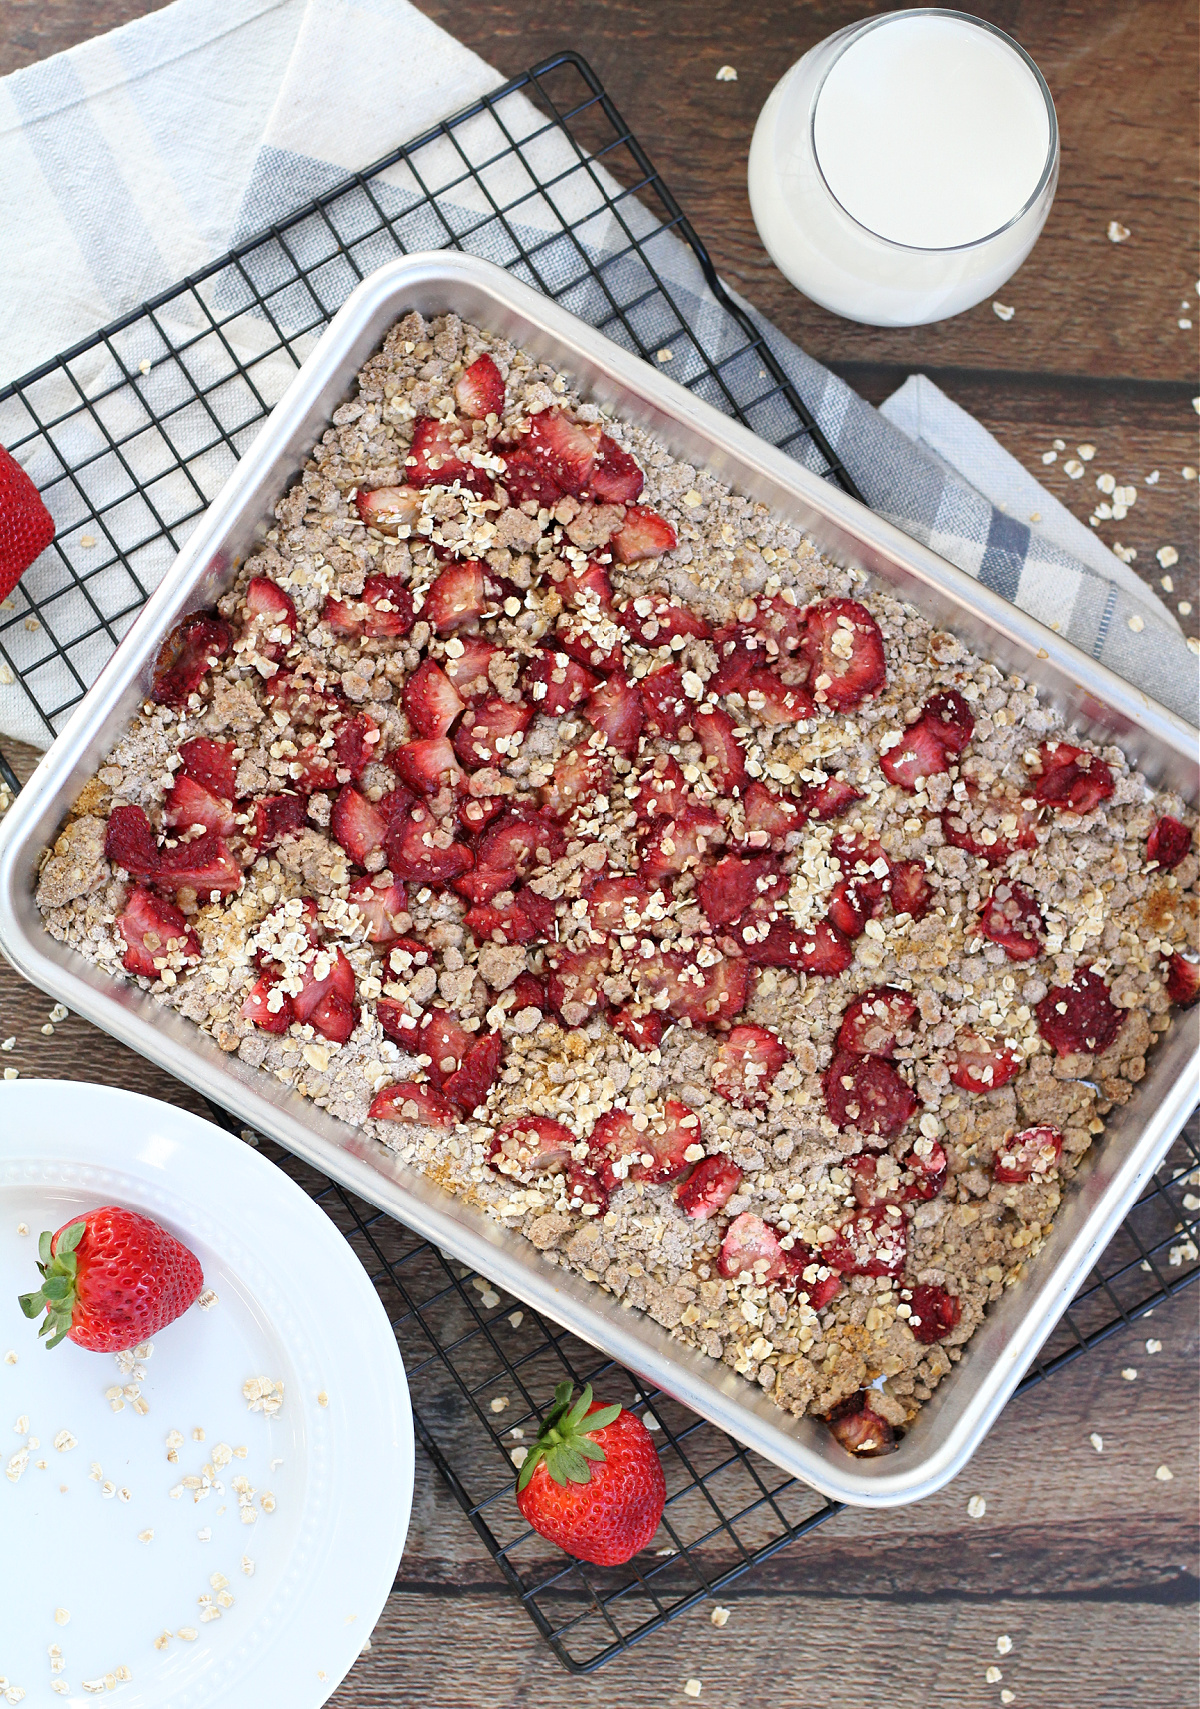
These strawberry oatmeal breakfast bars are easy to make, family-friendly, and perfect for busy mornings. Made with oats and fresh strawberries.

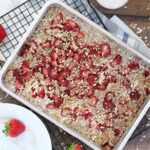
Strawberry Oatmeal Bars
Every time I walk around the Farmer’s Market or the grocery store I see all these beautiful berries just screaming out to be taken home and turned into something delicious. Last week I made a Healthy Lemon Blueberry Bread, so I got my blueberry fix. This week the bright red strawberries were calling out to me, and since the kids are out of school, I am always looking for easy breakfast options.
And these Strawberry Oatmeal Bars are just that. Sweet, delicious, easy to make, and they make for the perfect breakfast, or you can have them as a on-the-go-snack, or feel free to warm up a piece and serve it with vanilla ice cream 🙂

Prep is easy for these Strawberry Oatmeal Bars, just dice up your beautiful strawberries and mix together the remaining ingredients and get to layering.
The ingredients you will need to make my strawberry oatmeal breakfast bars are:
Flour
Sugar
Fresh strawberries, I recommend Florida strawberries when they are in-season.
Rolled oats
Unsalted butter
Milled flax seeds
Cornstarch
Cinnamon
Salt
Brown sugar
Vanilla

Then you toss your strawberry oatmeal bars in the oven and be prepared for all the yummy scents to flood your kitchen.
Why You’ll Love These Strawberry Oatmeal Breakfast Bars
These strawberry oatmeal breakfast bars are one of those recipes you’ll find yourself making again and again. They’re easy to prep ahead of time, made with simple ingredients, and perfect for busy mornings when you need something quick but still wholesome. The combination of hearty oats and sweet, juicy strawberries creates a soft, chewy texture that feels comforting and satisfying. Whether you enjoy them as a grab-and-go breakfast, an afternoon snack, or a lunchbox treat, these bars are a family-friendly option that works for all ages. Plus, they’re easy to customize with your favorite add-ins, making them a versatile staple for your weekly meal routine.
Can you use frozen strawberries to make these oatmeal bars?
I definitely recommend using fresh strawberries. You can use frozen strawberries, but allow them to thaw first and discard any liquid.
Can you use other berries instead of strawberries?
Absolutely! Feel free to experiment and use whatever fresh berries are in season.
How do you store strawberry oatmeal bars?
One of the best things about these strawberry oatmeal breakfast bars is how well they store.
You can store your homemade oatmeal bars in the refrigerator for up to 5 days by layering the bars between waxed paper in an airtight container.
Can you freeze strawberry oatmeal bars?
Sure can! You can freeze Strawberry Oatmeal Bars for up to 3 months.
More Delicious Strawberry Recipes
If you have leftover strawberries, check out these strawberry smoothie recipes. Smoothies are a great way to start your day off healthy…and filling!
Or maybe you want to make a strawberry dessert…I got you covered there too! These Strawberry Milk popsicles are delicious and if you want a splurge, I strongly recommend trying my Chocolate Covered Strawberry Cheesecake.
Want to add more strawberries to your meal plan? Not just breakfast or dessert? This Salmon and Strawberry salad is a favorite.
Now, here is my Oatmeal Breakfast Bars with Strawberries Recipe, be sure to Print It and Pin It so that you can make it again and again.
Strawberry Oatmeal Breakfast Bars
Ingredients
- 2 cups flour
- 1/2 cup sugar
- 3 cups fresh strawberries diced
- 1 1/2 cup rolled oats
- 1 stick of unsalted butter melted
- 2 tbs milled flax seeds
- 1 tbs cornstarch
- 1 tbs cinnamon
- 1/4 tsp salt
- 1 tbs brown sugar
- 1 tsp vanilla
Instructions
- Preheat oven to 375 degrees.
- Dice strawberries.
- In a medium bowl combine flour, sugar, salt, cinnamon, and rolled oats.
- In another bowl combine diced strawberries, cornstarch, brown sugar, and vanilla. Stir until strawberries are well coated.
- Pour melted butter into the flour/oat mix, combine. Reserve 1/2 cup of this mixture, then press remaining mixture into the bottom of a 9×13 pan or deep cookie sheet.
- Pour the coated strawberries over the oat meal mixture and spread evenly.
- Sprinkle remaining reserved oatmeal mixture over strawberries
- Bake at 375 for 40mins or until strawberries are cooked and the oats are golden
- Let cool, cut and serve or wrap individually and freeze for an on the go snack!
- Enjoy!
Nutrition
I hope you enjoy these Breakfast Strawberry Oatmeal Bars as much as we do!

If you’re looking for a simple, make-ahead breakfast that the whole family will enjoy, these strawberry oatmeal breakfast bars are a must-try. They’re easy to make, packed with wholesome ingredients, and ideal for busy mornings or snack time throughout the week. Whether you’re baking for meal prep or just using up fresh strawberries, this recipe is a delicious way to keep breakfast stress-free and satisfying.
Have you ever made your own Oatmeal Bars before?
Looking for more baked deliciousness?


Homemade Strawberry Fruit Roll Ups
In fact, be sure to check out all the recipes on Food Wine Sunshine and follow me on Facebook, Pinterest, and Instagram.


