This post may contain affiliate links, please read our disclosure policy.
This DIY Rock Flower Art is simple, yet beautiful. Find rocks on your next hike, or pick them up at your local craft store and make this DIY Garden Rock Flower Art. Follow the simple tutorial below and make yours today!
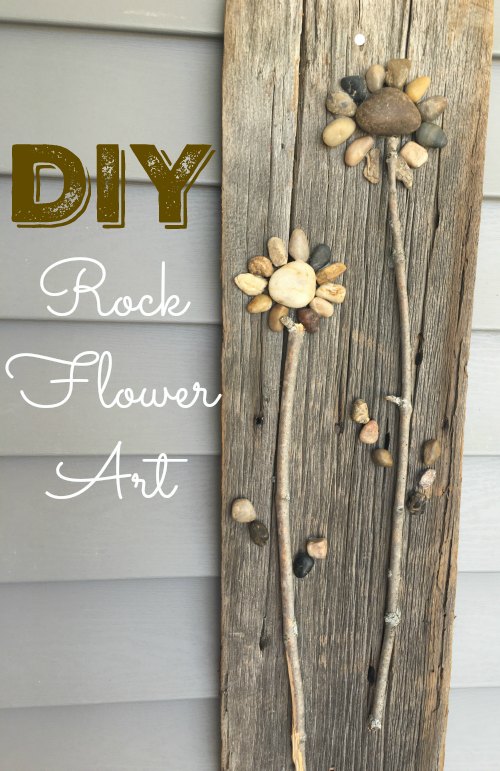
DIY Rock Flower Art
I was at my sister-in-law’s a few weeks ago and she had these adorable DIY rock flowers on wood planks hanging on the inside and outside outside of her house and I feel in love! If you enjoy making crafts, this Do It Yourself project is actually pretty easy and is very inexpensive! Anyone can make this flower art, all you need is a little imagination for your flower design and some basic supplies to make all different kinds of flowers.
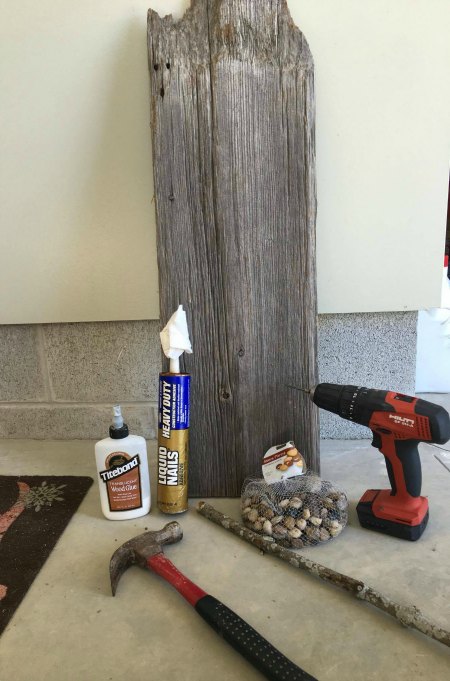
Here’s what you need to make your own Do It Yourself Rock Flower Art:
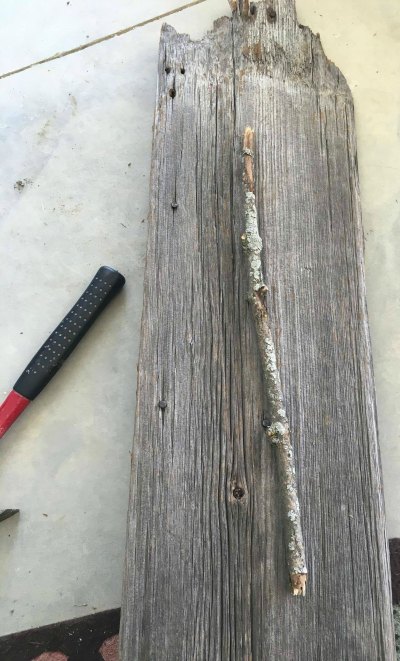
BARN WOOD/ PALLET WOOD – Any length, your choice. These days you are able to find either of these to little to no cost at all!!!
STICKS – Everyone has access to some twigs/sticks laying around. Send the kids on a scavenger hunt if needed 😉
STONES/ ROCKS – I bought mine at the local dollar store, but it also is just as easy if you live by a beach or woods/country could easily find some and use those. To make it more personable you could use ones from your yard or from a trip that you went on. Please tell me that my kids aren’t the only ones that bring rocks home from just about everywhere?!
WOOD GLUE/ LIQUID NAILS – I will give a pointer, I would use the wood glue if you plan on keeping it indoors, but if you plan on hanging it where it will be exposed to the outside I would recommended using the liquid nails. You can get either of these at your local hardware store, or search around in the garage.
NAILS – Look around in the garage, but if you don’t have any, just get them at your local hardware store! But make sure when you are looking for the nails to make sure that you pick ones that will not only are long enough to go thru the wood but also long enough to hang where desired! If you are unsure of what type of nails to use, ask at the hardware store.
HAMMER – I’m sure everyone owns one of these.
DRILL – Found in most garages! It does help pre-drill your holes before hanging.
*** DO NOT, I REPEAT, DO NOT use hot glue!! The rocks/stones WILL NOT STICK to hot glue. ***
How to Make Your Own DIY Rock Flower Art:
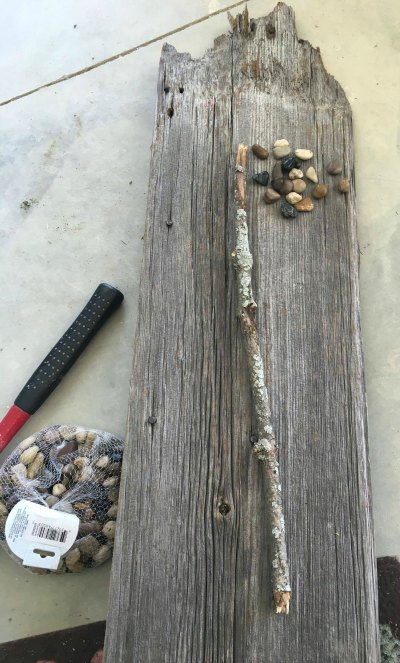
1. Gather your material list (pictured and listed above)
2. Sort thru your sticks and stones to decide what fits best for your project
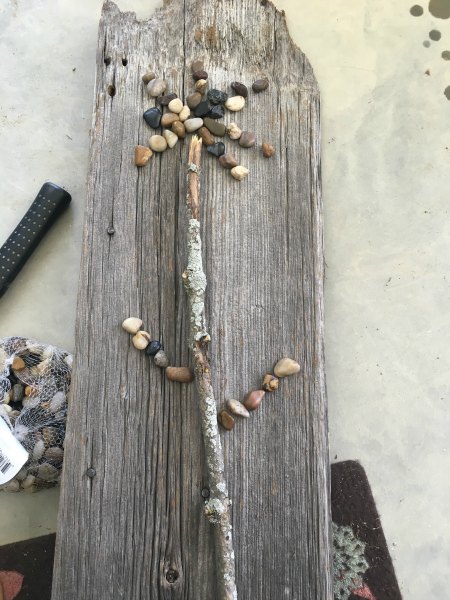
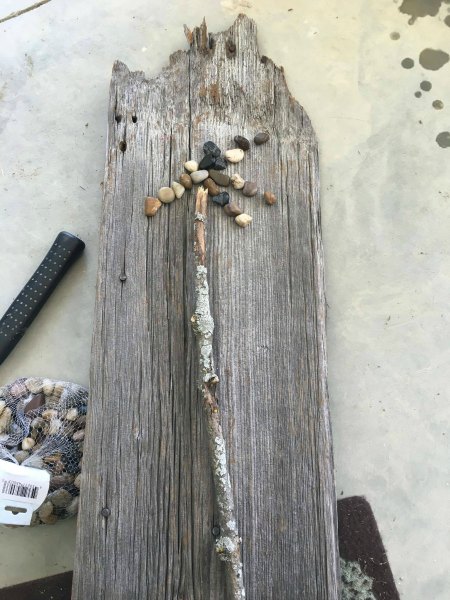
3. Once you have picked out your stones and your stick(s) arrange them on your board, it took me a few times, but once you have designed your layout its gluing time.
4. The best way I found to glue your stones is to pick them up one by one and glue them that way instead of clearing the whole board, because I could never get it just the same way I had it laid out the first time.
5. Once you have glued your stones, move onto the sticks. It really doesn’t matter what you start with first as long as you end up gluing everything you will be set.
6. Let your DIY Rock Flower Art dry. I let mine dry over night.
7. Pre-drill the holes one on the top of the board and one on the bottom of the board if you are going to hang it, the more secure the better.
8. Gather your nails and your hammer and go hunting for the perfect spot to hang your Rock Flower Art.
9. Hang it up.
10. ENJOY!
What is one of your favorite DIY projects? Have you made rock flower art before?
Looking for another fun DIY project? Check out how we turned garage sale freebies drawers into storage bins and a little herb garden!
DIY Dresser Drawers to Storage Boxes
Be sure to check out Food Wine Sunshine on Facebook, Twitter, Pinterest and Instagram for more DIY, helpful tips, healthy recipes, and more.




I love creating for my garden. Great ideas.
What a creative, fun, easy craft! I plan to share this with my daughter’s Girl Scout troop. So fun.
That came out so nice, and it sure goes well with the pillows!
This is a fun idea for the summer. A nice way to bring the outside in….
So simple and so many ways to add your own flare into it!
Exactly!! And you can hang them anywhere 🙂
I love this idea, I would definitley do this and put this either in the hallway or on the front porch where everyone can see this.
I love this idea! My daughter collects shells whenever we go to the beach. She could do something similar with her shells.
Absolutely!!! I love that idea!