This post may contain affiliate links, please read our disclosure policy.
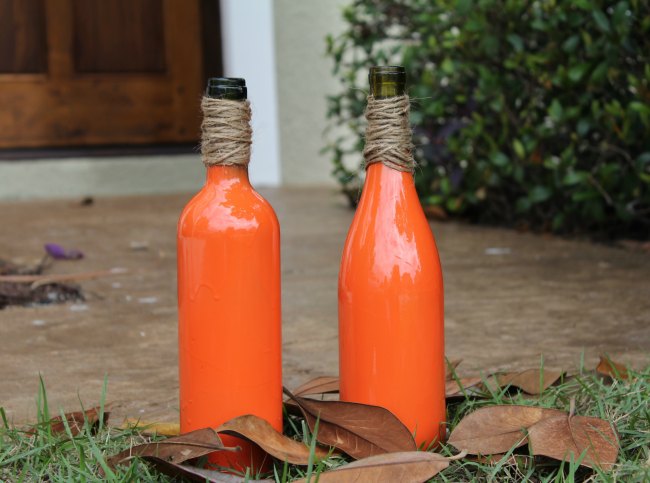
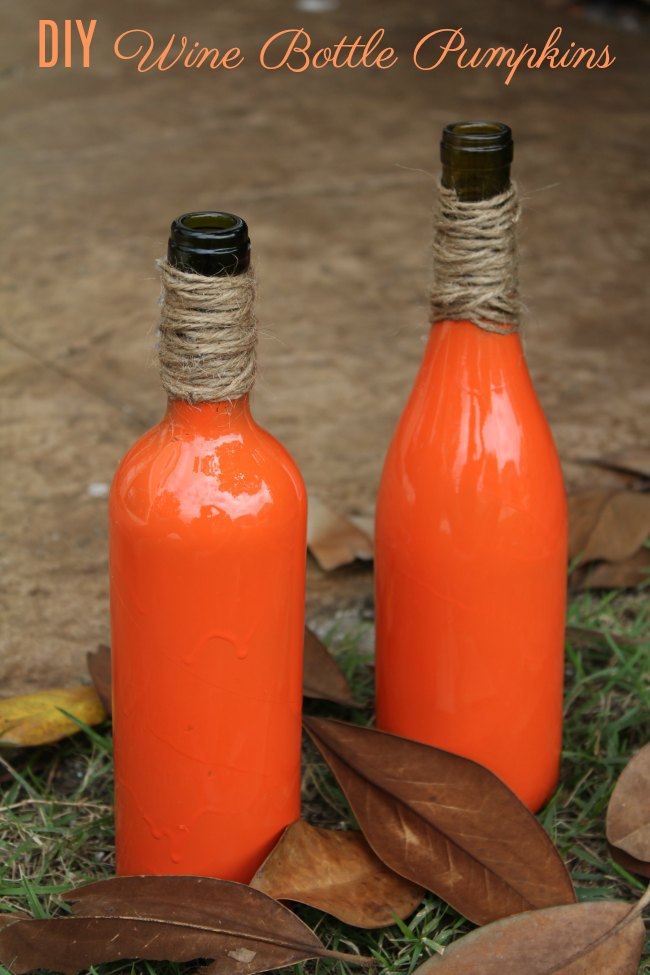
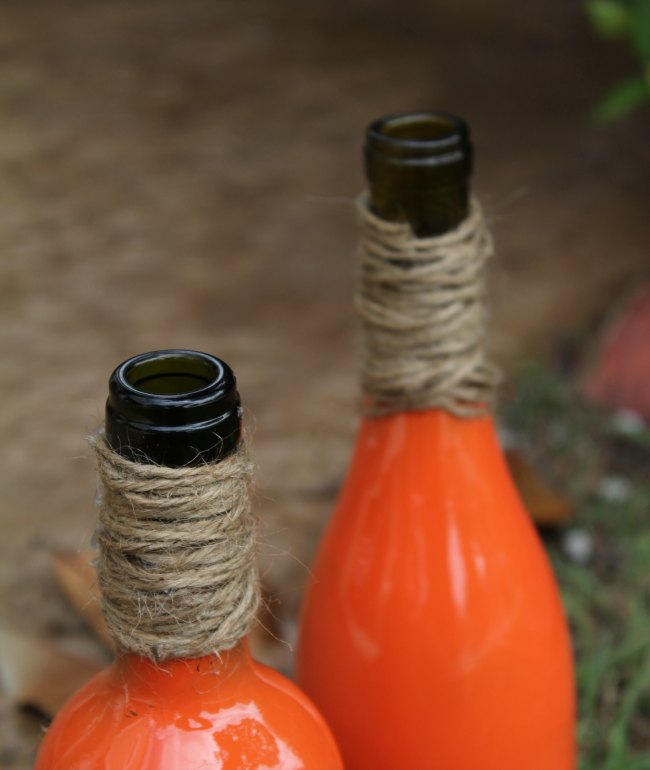
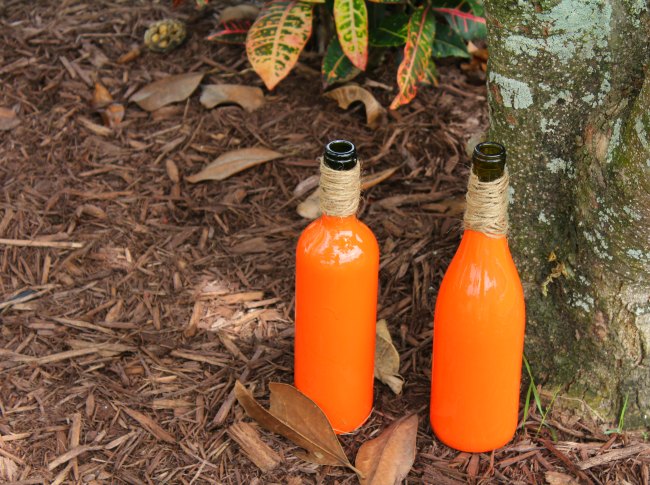
Grab those wine bottles out of the recycling bin and upcycle them into these adorable, yet simple Wine Bottle Pumpkins. You don’t have to be super crafty to make these Wine Bottle Pumpkins, they are done in just a few simple steps.
How To Make Wine Bottle Pumpkins
If you know me, you know that I may have an empty wine bottle or two in my recycling bin at any given time. You would also know that if I am going to get crafty, it has to be easy. And that’s exactly how these Wine Bottle Pumpkins were born! It’s been awhile since I made my Fall Mason Jars, so I figured it was due time for another fun fall craft. An easy fall craft.
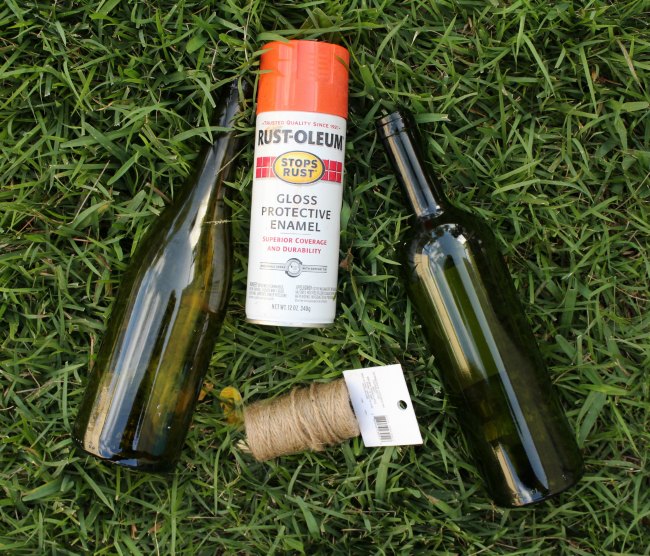
What You Need To Make Upcycled Wine Bottle Pumpkins:
- Wine Bottles – Empty…drink up first 😉 DON’T dump it out..that would be alcohol abuse! I took the labels off mine, so that you couldn’t see the outline of the label when painted.
- Twine – I got mine at the local craft store for about $3.50, and there is enough on the roll to do a bunch more.
- Hot Glue
- Orange Spray Paint
To make your Wine Bottle Pumpkins:
- Clean your wine bottles and remove the labels. If they don’t just peel off, soak them in water and use a scrubby to get them off.
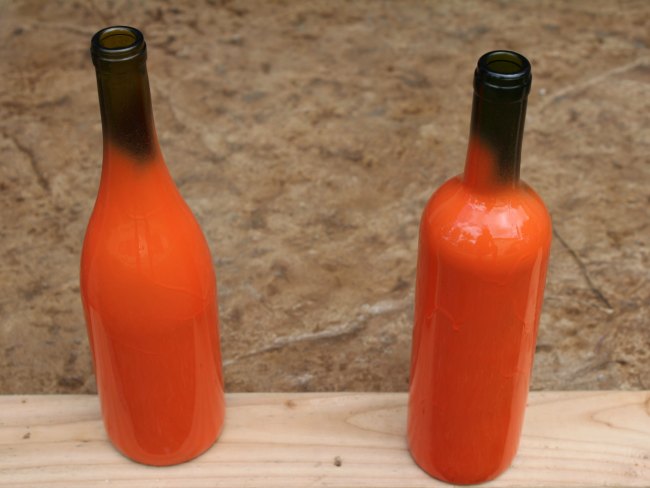
- When the wine bottles are dry, place your finger in the opening of the wine bottle and spray the entire bottle with the orange spray paint. Feel free to wear gloves. You can see some dips on mine, and I don’t mind them, they look like pumpkin ridges 🙂
- Place the bottles somewhere to dry, I placed mine on a spare 2 x 4 that my hubby had in the garage.
- Once dry – I live in FL and it has been windy lately, so mine where dry in under an hour, you may need more time – warm up the hot glue gun and get your twine ready.
- Carefully place a small amount of glue at the base of the neck of the wine bottle, then wrap the twine as far up as you would like. Every now and then, place another small amount of glue to hold the twine in place. Once you are happy with the way the twine looks, put a small amount of glue down and secure the end of the twine. Always be careful when working with hot glue, you don’t want to burn your fingers.
- Proudly display your Wine Bottle Pumpkins indoor or outside.
Upcycled Wine Bottle Pumpkins
Materials
- Empty, clean wine bottles I removed the labels
- Twine
- Hot Glue
- Orange Spray Paint
Instructions
- Clean your wine bottles and remove the labels. If they don't just peel off, soak them in water and use a scrubby to get them off.
- When the wine bottles are dry, place your finger in the opening of the wine bottle and spray the entire bottle with the orange spray paint. Feel free to wear gloves. You can see some drips on mine, and I don't mind them, they look like pumpkin ridges.
- Place the bottles somewhere to dry.
- Once dry the spray paint is dry warm up the hot glue gun and get your twine ready.
- Carefully place a small amount of glue at the base of the neck of the wine bottle, then wrap the twine as far up as you would like. Every now and then, place another small amount of glue to hold the twine in place. Once you are happy with the way the twine looks, put a small amount of glue down and secure the end of the twine. Always be careful when working with hot glue, you don't want to burn your fingers.
- Proudly display your Wine Bottle Pumpkins indoor or outside.
- Drink more wine and make more Wine Bottle Pumpkins for friends and family!
You can use a sharpie to draw faces on your bottles, but I like the classic simplicity of these. I hope you do too!
Do you like upcycling? These DIY Wine Bottle Pumpkins are the perfect way to have your wine and drink it too 😉
Be sure to check out all my recipes on Food Wine Sunshine and follow me on Facebook, Twitter, Pinterest, and Instagram.





Comment section