This post may contain affiliate links, please read our disclosure policy.
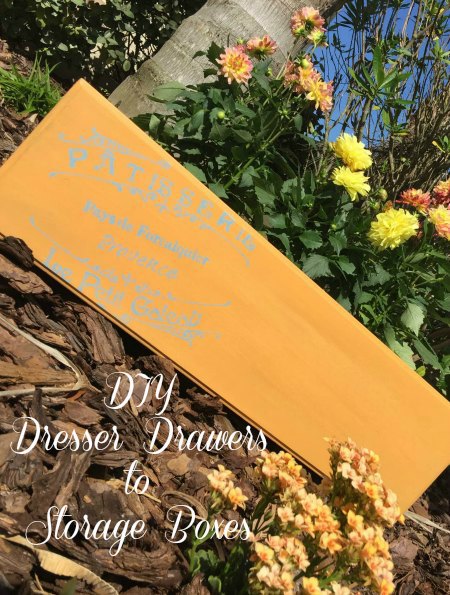
Add these adorable and easy to make DIY Raised Garden Boxes and Storage bins to your home. The step-by-step tutorial is easy to follow and you will love turning those old dresser drawers into new treasures.
How To Turn Dresser Drawers Into Garden Boxes
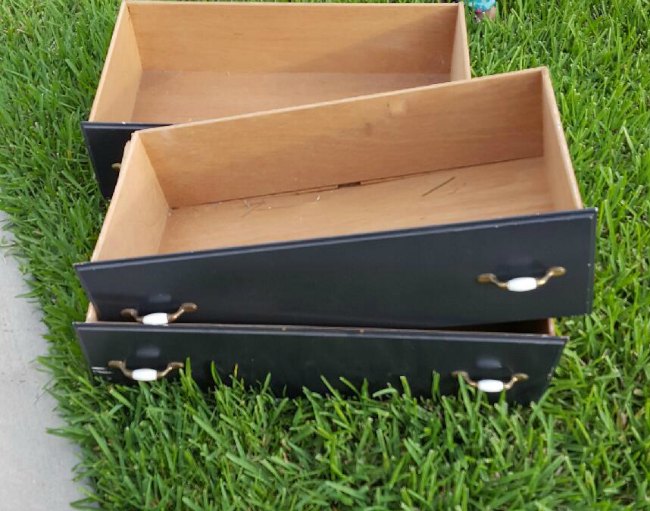
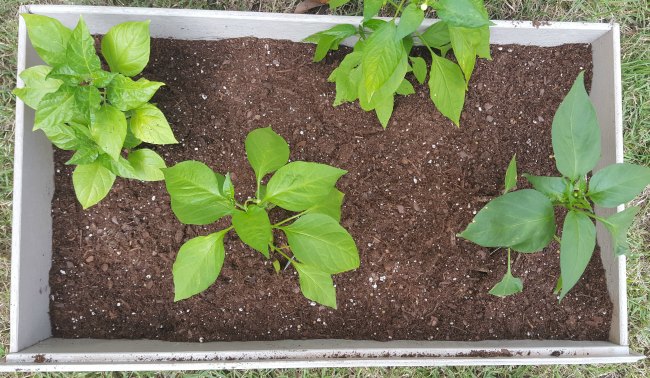
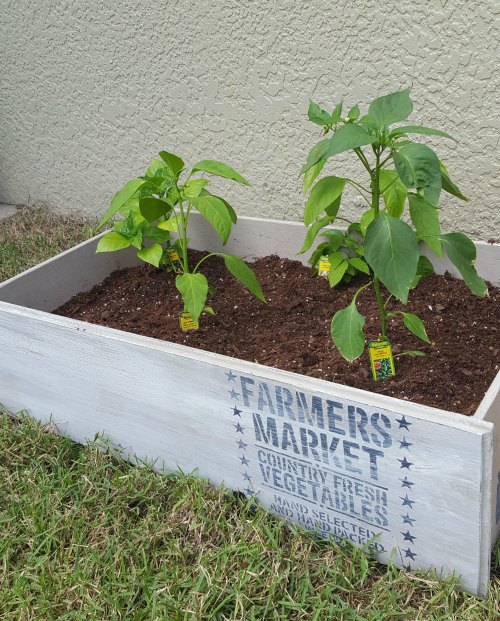
Do you love DIY? Do you love unique storage solutions? Well, I have a fun DIY project for you to take on then! It’s time to look around the house or at some garage sales for an old dresser that someone is thinking of throwing out. Save the drawers and make adorable storage boxes! In fact, I used one of mine for a mini-garden 🙂 We were at Home Depot a few weeks ago and the kids asked if they could buy peppers, and we figured…why not?! I have never planted any form of fruit or vegetables before, so I wanted a small area for our first test run and our Dresser Drawer turned Mini-Garden is absolutely perfect.
Now, I have an easy way to turn those old drawers into adorable storage boxes in just FIVE steps!!
Here’s what you’ll need:
- Those old drawers – I actually found our at a garage sale in the “free” pile
- Wood filler putty
- 180 grit sand paper
- Spray paint – I used Rust-Oleum
- Home décor paint in two colors
- Paint brush
- Stencil
- Paint tape
- Sealer
Step One:
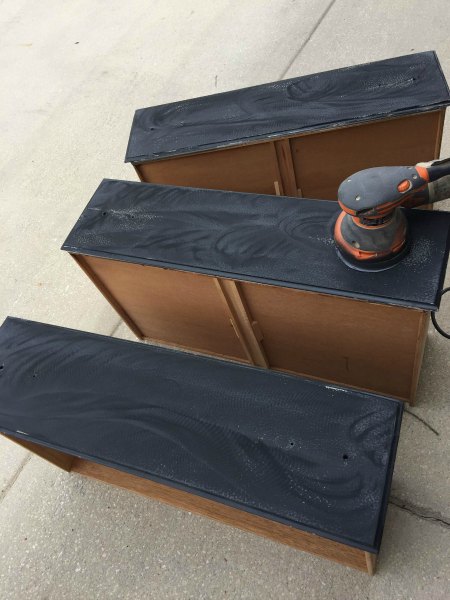
Once the drawers are out, take out any handles or hardware and sand down the paint until your surface is smooth. I used a handheld sander but doing it manually is just fine with your 180 grit sand paper.
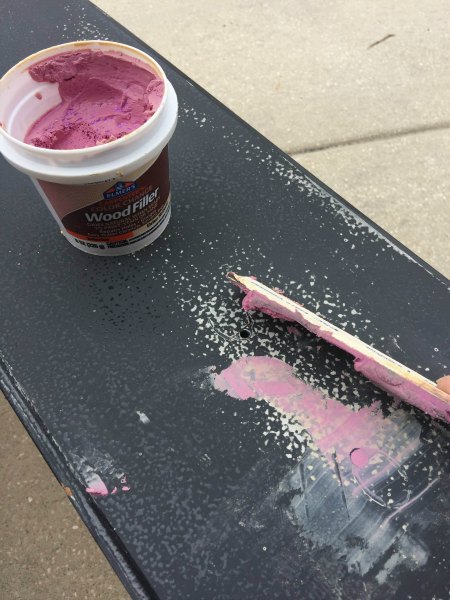
Wipe down and fill the screw holes with the wood filler putty. Once hardened, sand to a smooth surface. Note: You can use the handles for decoration but they still need to be removed to paint.
Step Two:
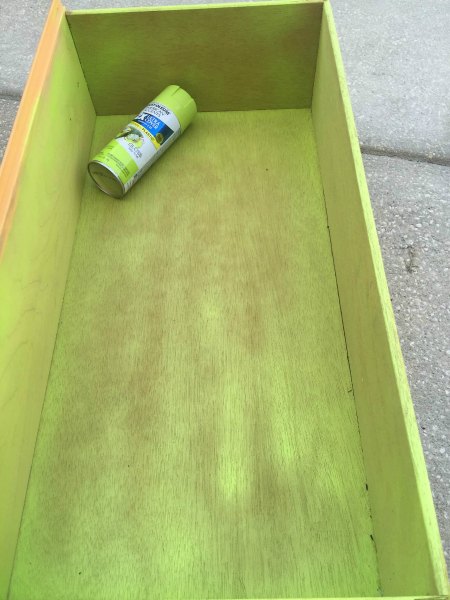
After wiping out the inside of the drawers of any debris, spray the inside and outside of the drawer with the spray paint color you want. I used two coats of spray paint but this is all about your taste, so if you like the look of one coat, then leave it or go ahead and spray the second or even a third coat once dried. I only waited an hour between coats, but double check the directions on the your choice of can of spray paint.
Step Three:
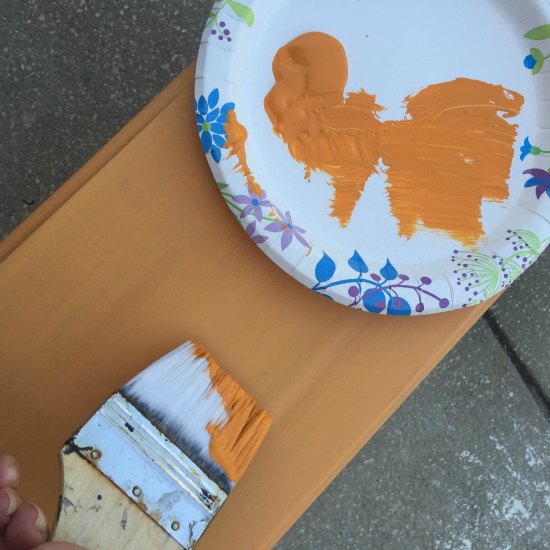
Once your smooth surface of the dresser drawer has been wiped clean, apply your first coat of paint with your paint brush. Any paint brush you have laying around will be fine but I purchased my brush and my home décor paint in my neighborhood craft store. Wait a few hours or as directed on your bottle of paint to apply another coat. If you are happy with the color, sand lightly with 180 grit sandpaper or higher 220, 240, etc. The higher the number, the smoother the finish. I had the 180 grit already so I used that to smooth my surface. Just a quick sand will work. Make sure you’re not pressing really hard when handing. This could take the paint off. If you need another coat, that is fine. It’s all about what you like!
Step Four:
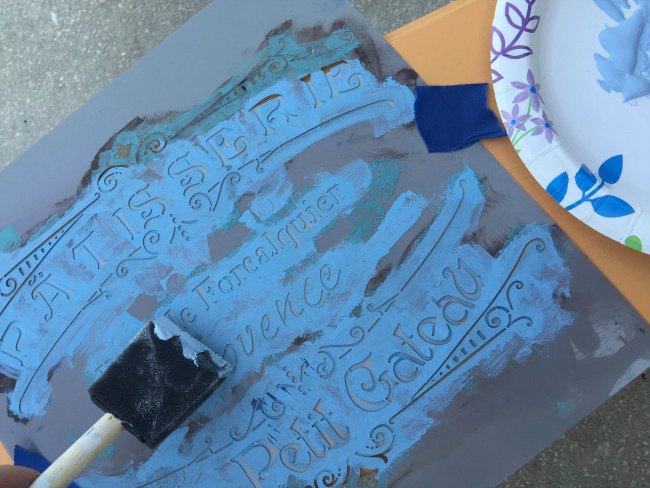
Once your paint has dried according to the directions on the paint you chose, lay down any stencil you like on the front of the dresser. Tape it with paint tape so that it doesn’t move on you while you are brushing over the stencil with another color. Once secured, apply the paint lightly over the stencil. Make sure you don’t have too much paint on your brush so that it won’t leak beyond the stencil. Then carefully remove the stencil by lifting it straight up. I didn’t wait to remove the stencil.
Step Five:
Apply your clear coat or sealer with your paint brush. Apply the sealer with a couple of coats of an indoor/outdoor sealer that can also be found at the same craft store. Wait a few hours, or as directed before displaying your new creative storage box.
Now you have an adorable way to display your pillows, liven up your landscaping or even create your own little garden.
Are you ready to turn dresser drawers to storage boxes at your home?
Feeling crafty?
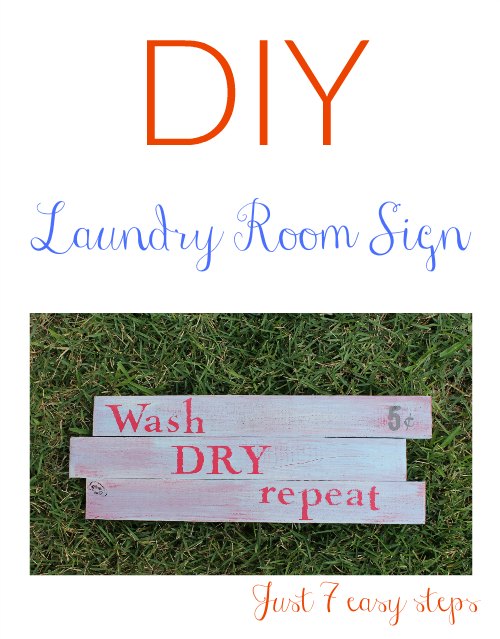
Make one of your own Laundry Room Signs
Be sure to check out Food Wine Sunshine on Facebook, Twitter, Pinterest, and Instagram for more DIY, helpful tips, healthy recipes, and more.






Wonderful ideas! Thank you.I was just going to throw out an old chest of drawers but will now recycle it 🙂
such a neat idea..going to have to try one of these with my old dresser.
soooo cute! these are amazing, and the satisfaction of knowing they are saved from the trash heap – wonderful!
Thank you! And they are fairly easy to make, we just love ours 🙂